
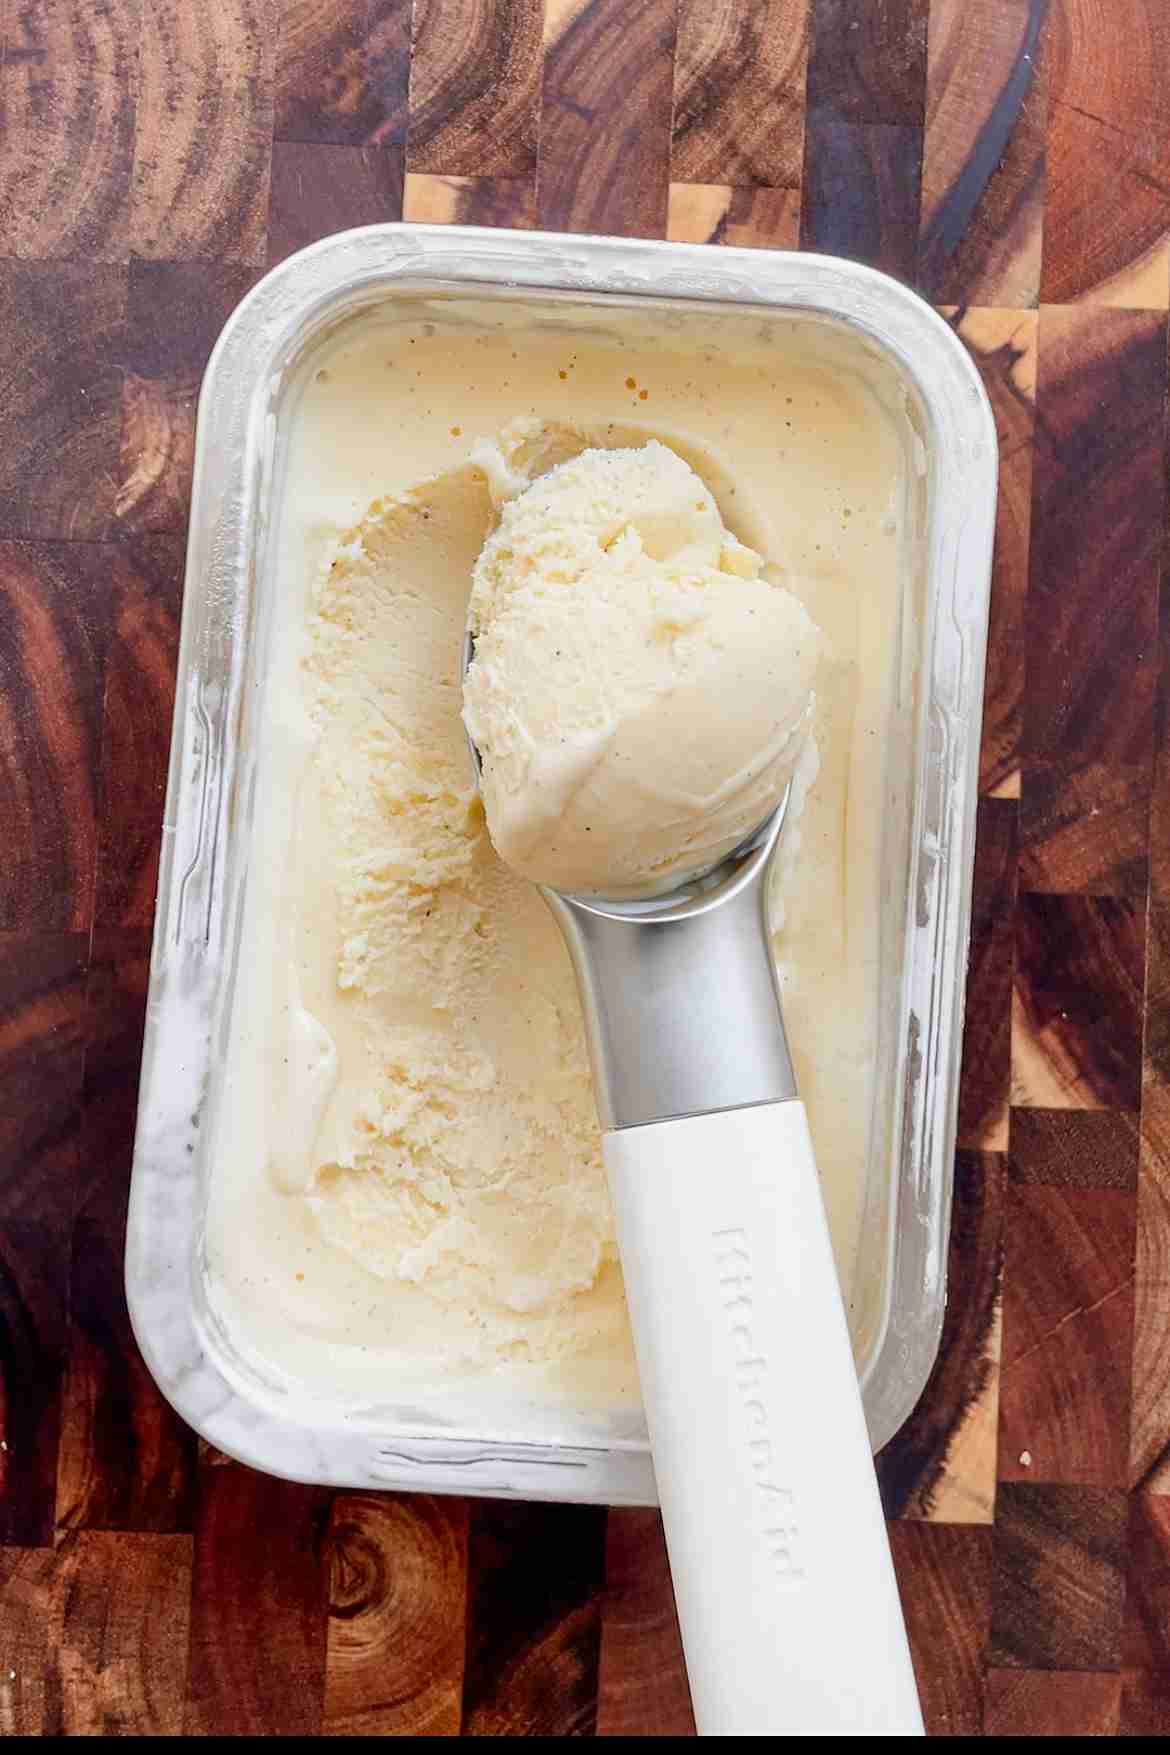
There’s a reason vanilla custard ice cream is the flavor everyone agrees on. This version goes back to the classic method, a real egg custard base cooked low and slow, then churned until it’s rich and scoopable.
Jump to:
Why You’ll Love This Vanilla Ice Cream Recipe
- A true custard base gives it a texture that’s noticeably richer than anything churned without eggs
- One base recipe that you can flavor a hundred different ways once you’ve got it down
- No ice cream maker? There’s an easy workaround below
- Classic flavor that everyone at the table says yes to
Ingredients for Vanilla Custard Ice Cream
- Whole milk: Keeps the base light enough to stay scoopable straight from the freezer.
- Heavy cream: Use high-fat heavy cream, ideally 36 – 40% fat content.
- Egg yolks: The whole reason this is a custard and not a simple churned base.
- Granulated sugar or cane sugar: For sweetness and a smoother finished texture.
- Salt: Just a pinch, to balance the sweetness.
- Vanilla extract or vanilla powder: The only flavor in this recipe, so use the best you have.
See the recipe card below for exact quantities.
Substitutions & Variations
- Vanilla bean: Swap the extract for vanilla bean paste or a scraped pod for deeper flavor and those little black flecks.
- Mix-ins: Stir in chocolate chips or crushed cookies in the last few minutes of churning.
This recipe has not been tested with all substitutions.
How To Make Vanilla Custard Ice Cream
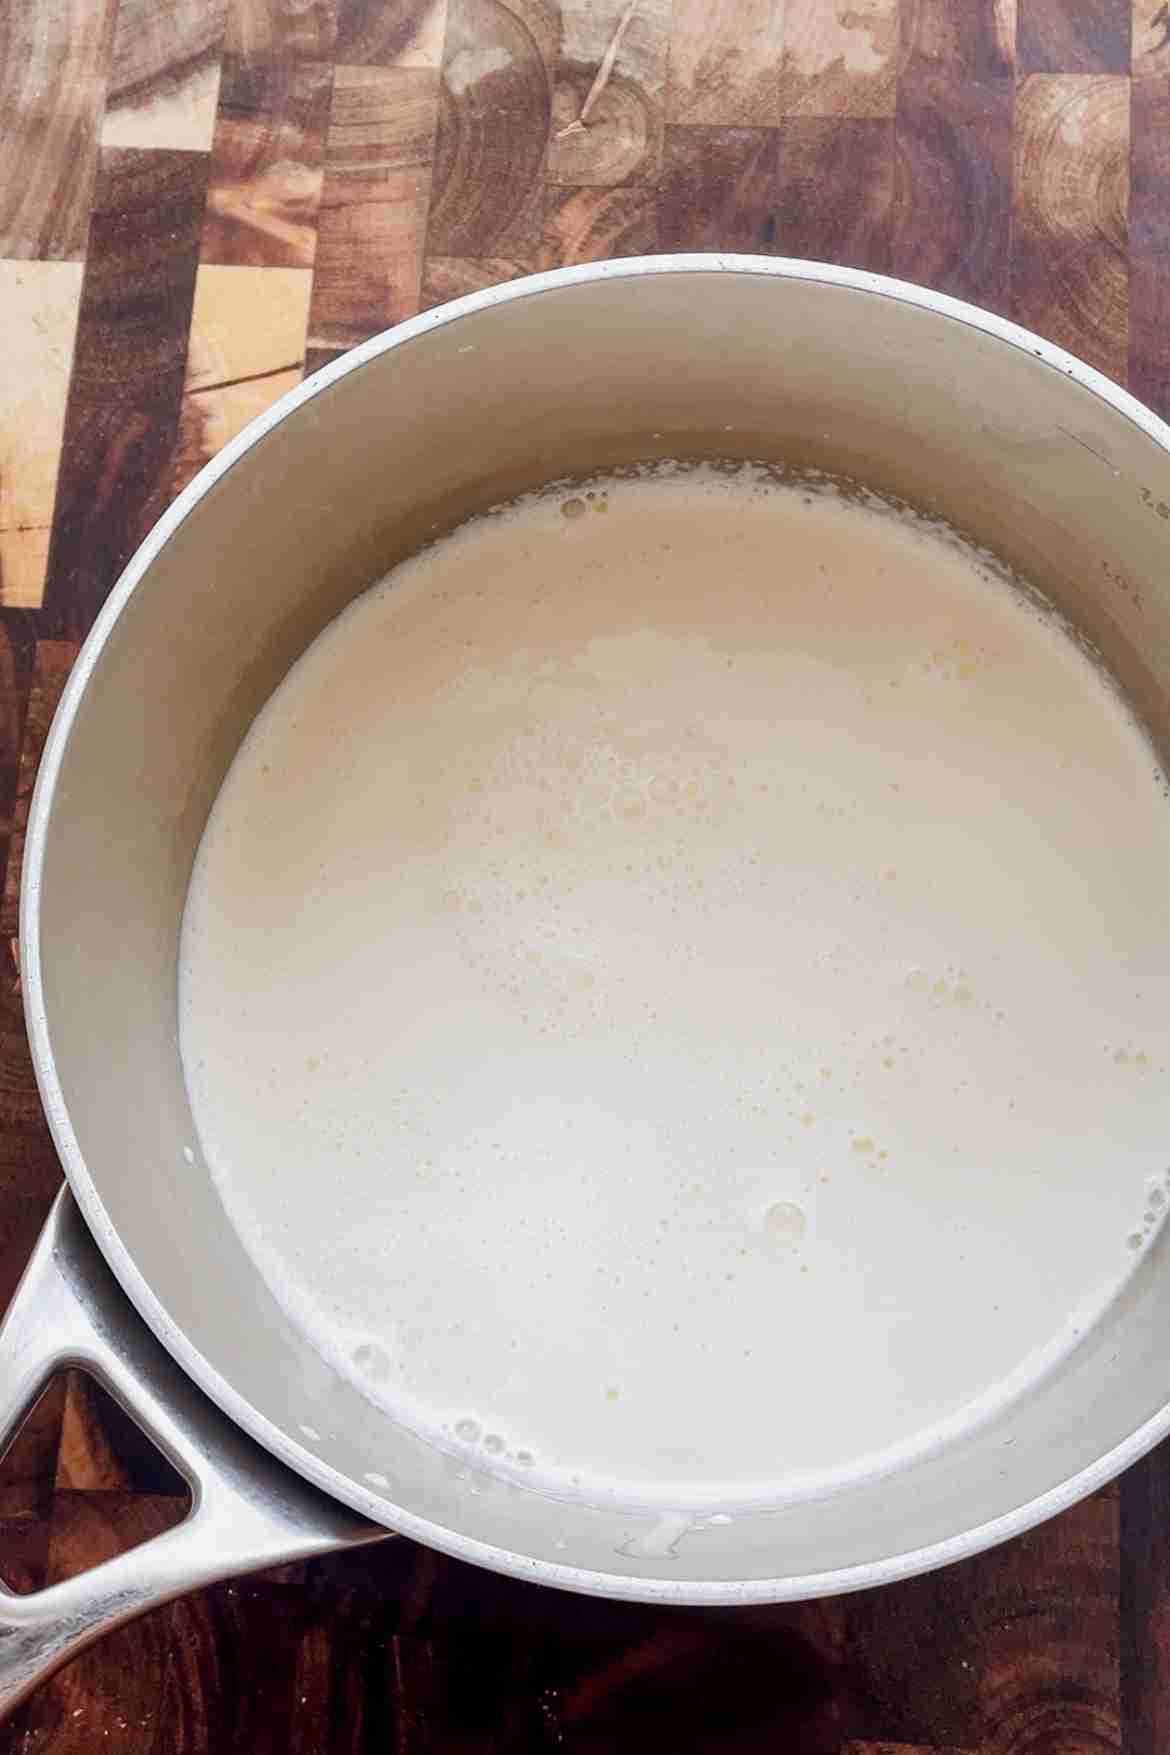
- Step 1: Warm the milk and heavy cream together in a saucepan until hot with small bubbles forming around the edges, not boiling.
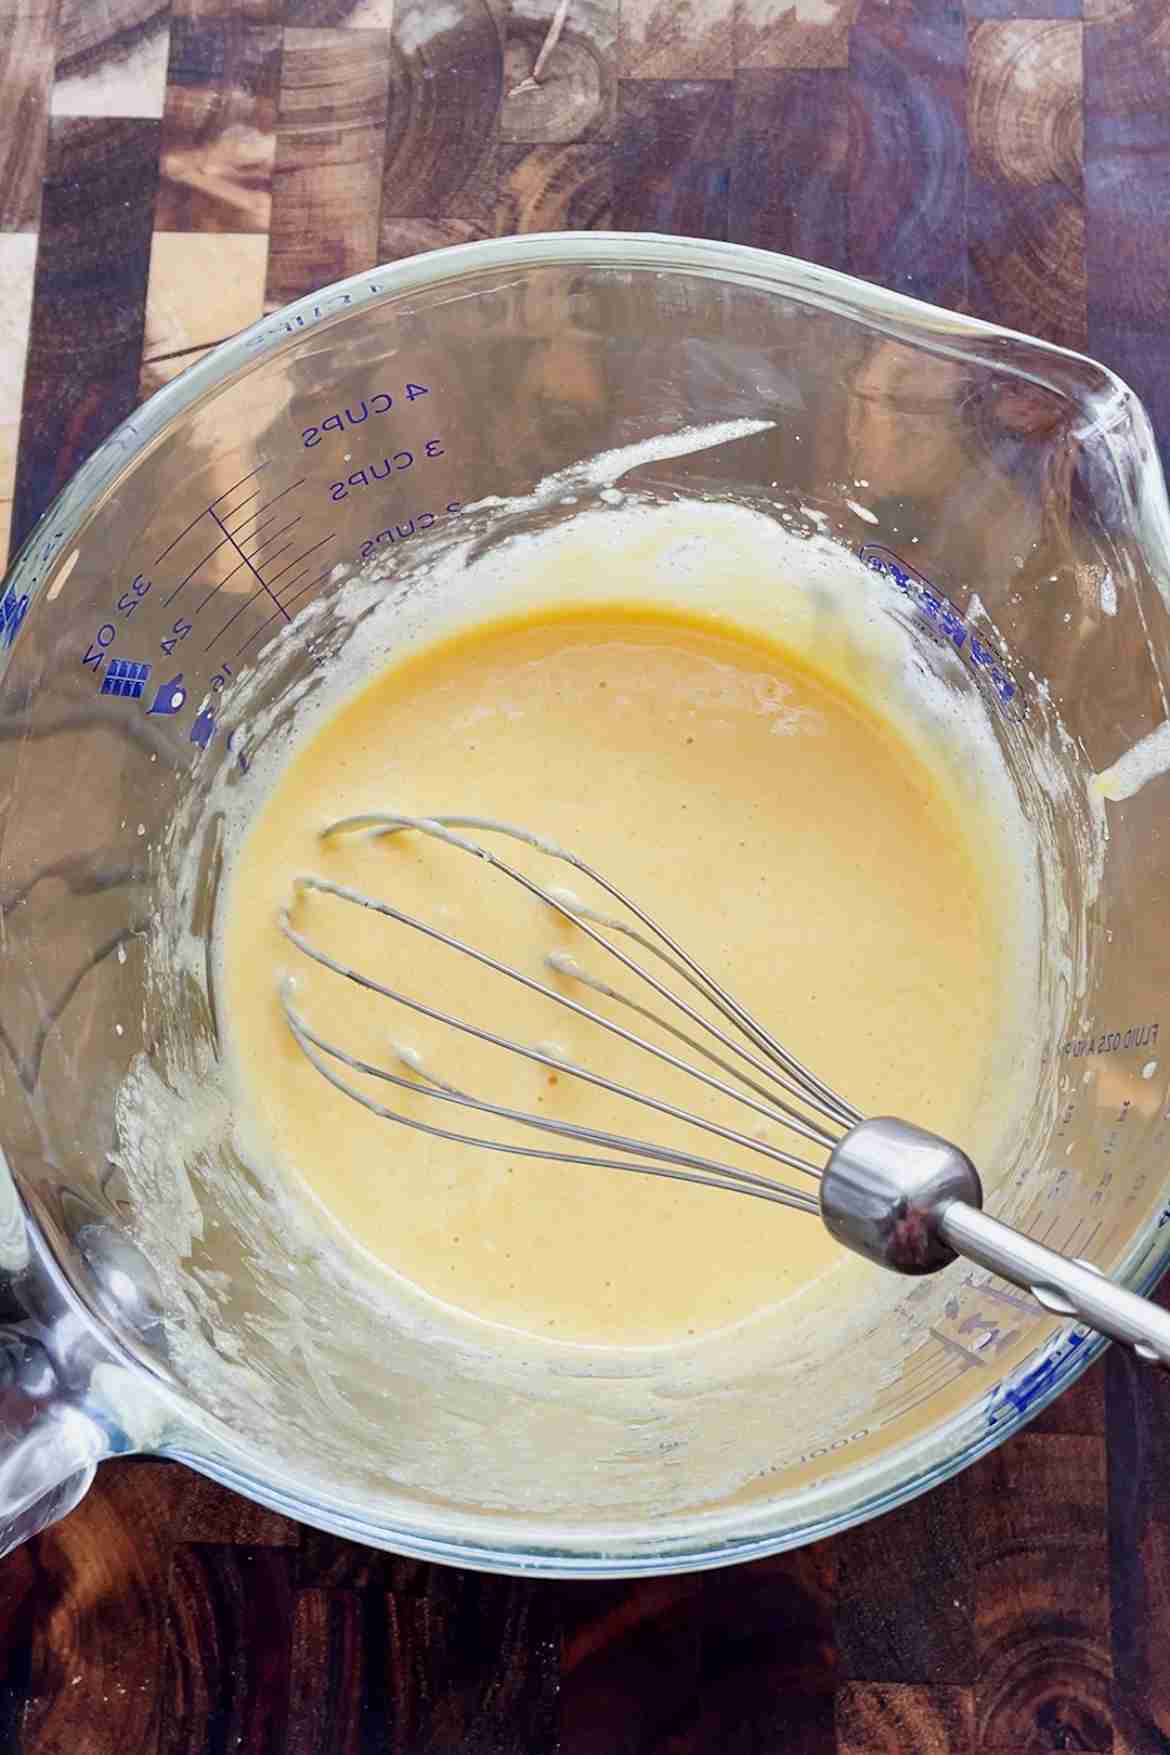
- Step 2: Whisk the egg yolks with the sugar and a pinch of salt until pale and well combined.
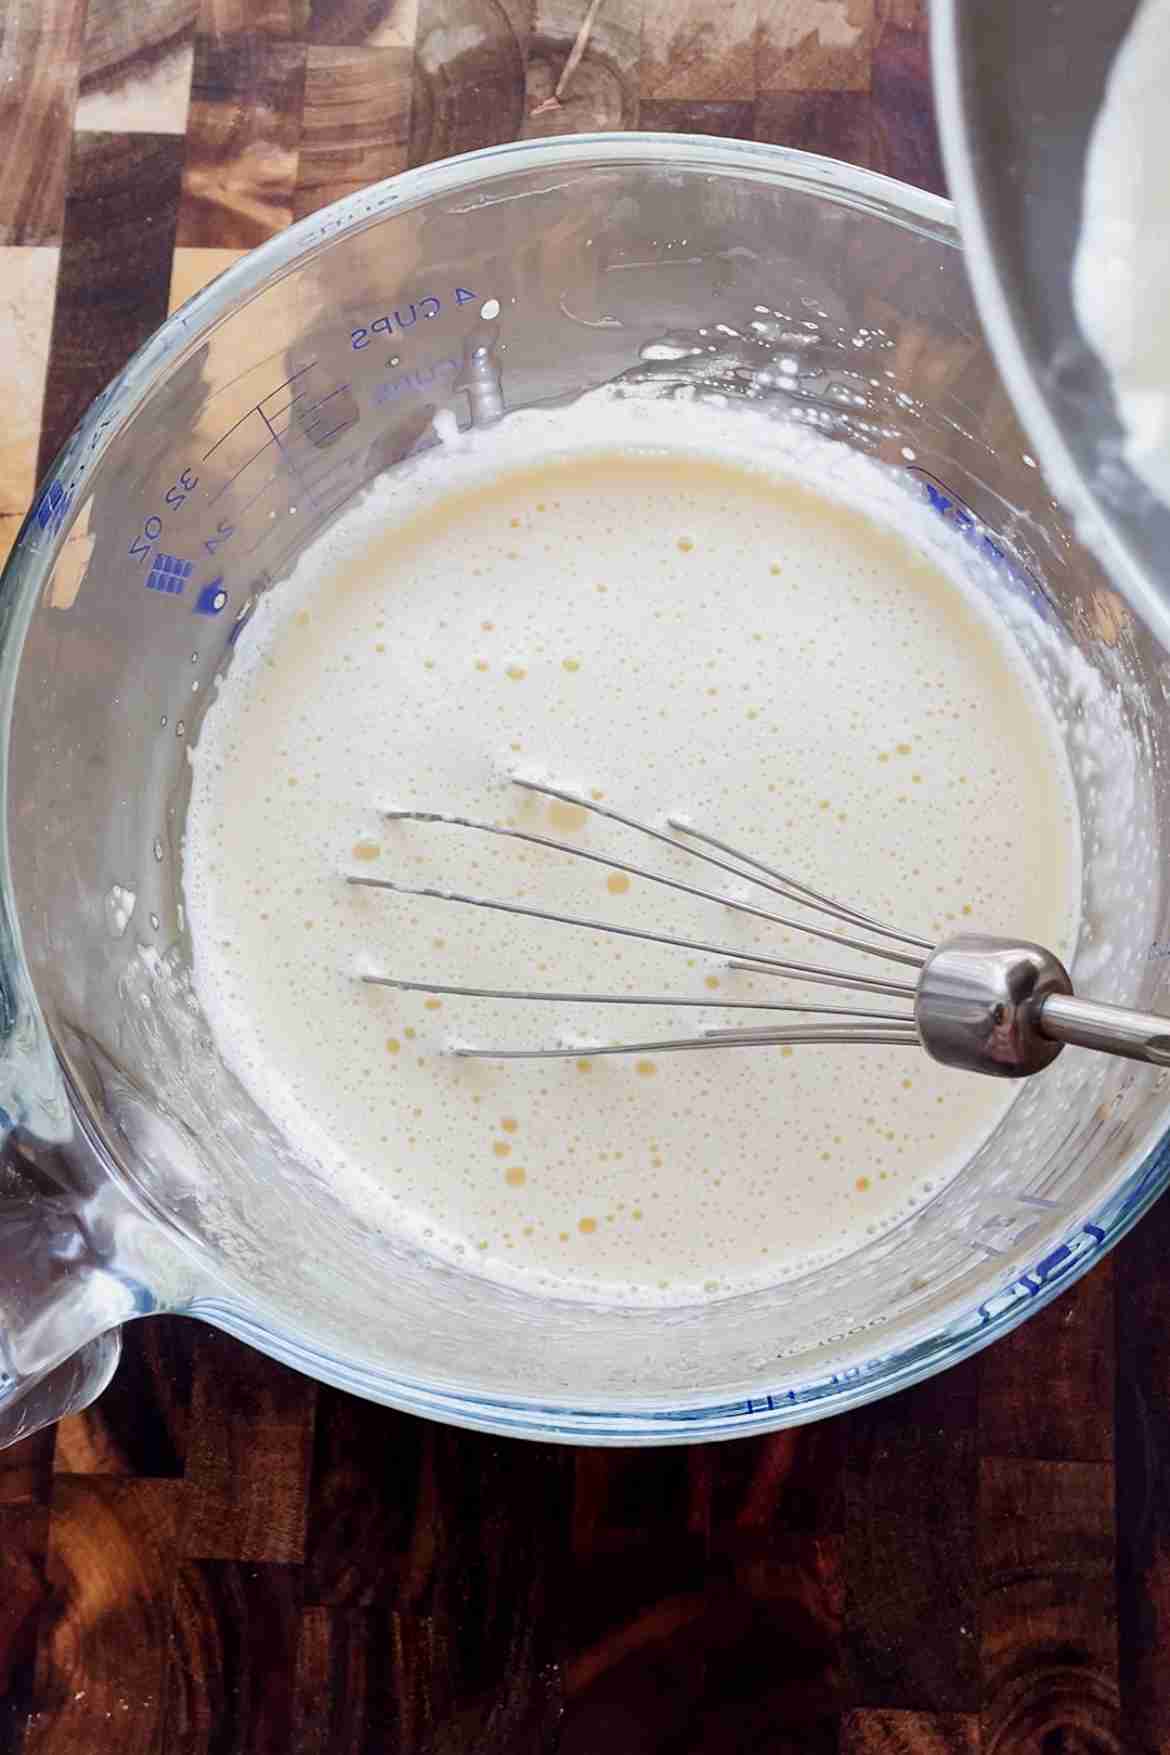
- Step 3: Slowly whisk the warm milk into the egg yolks a little at a time, then pour everything back into the saucepan.
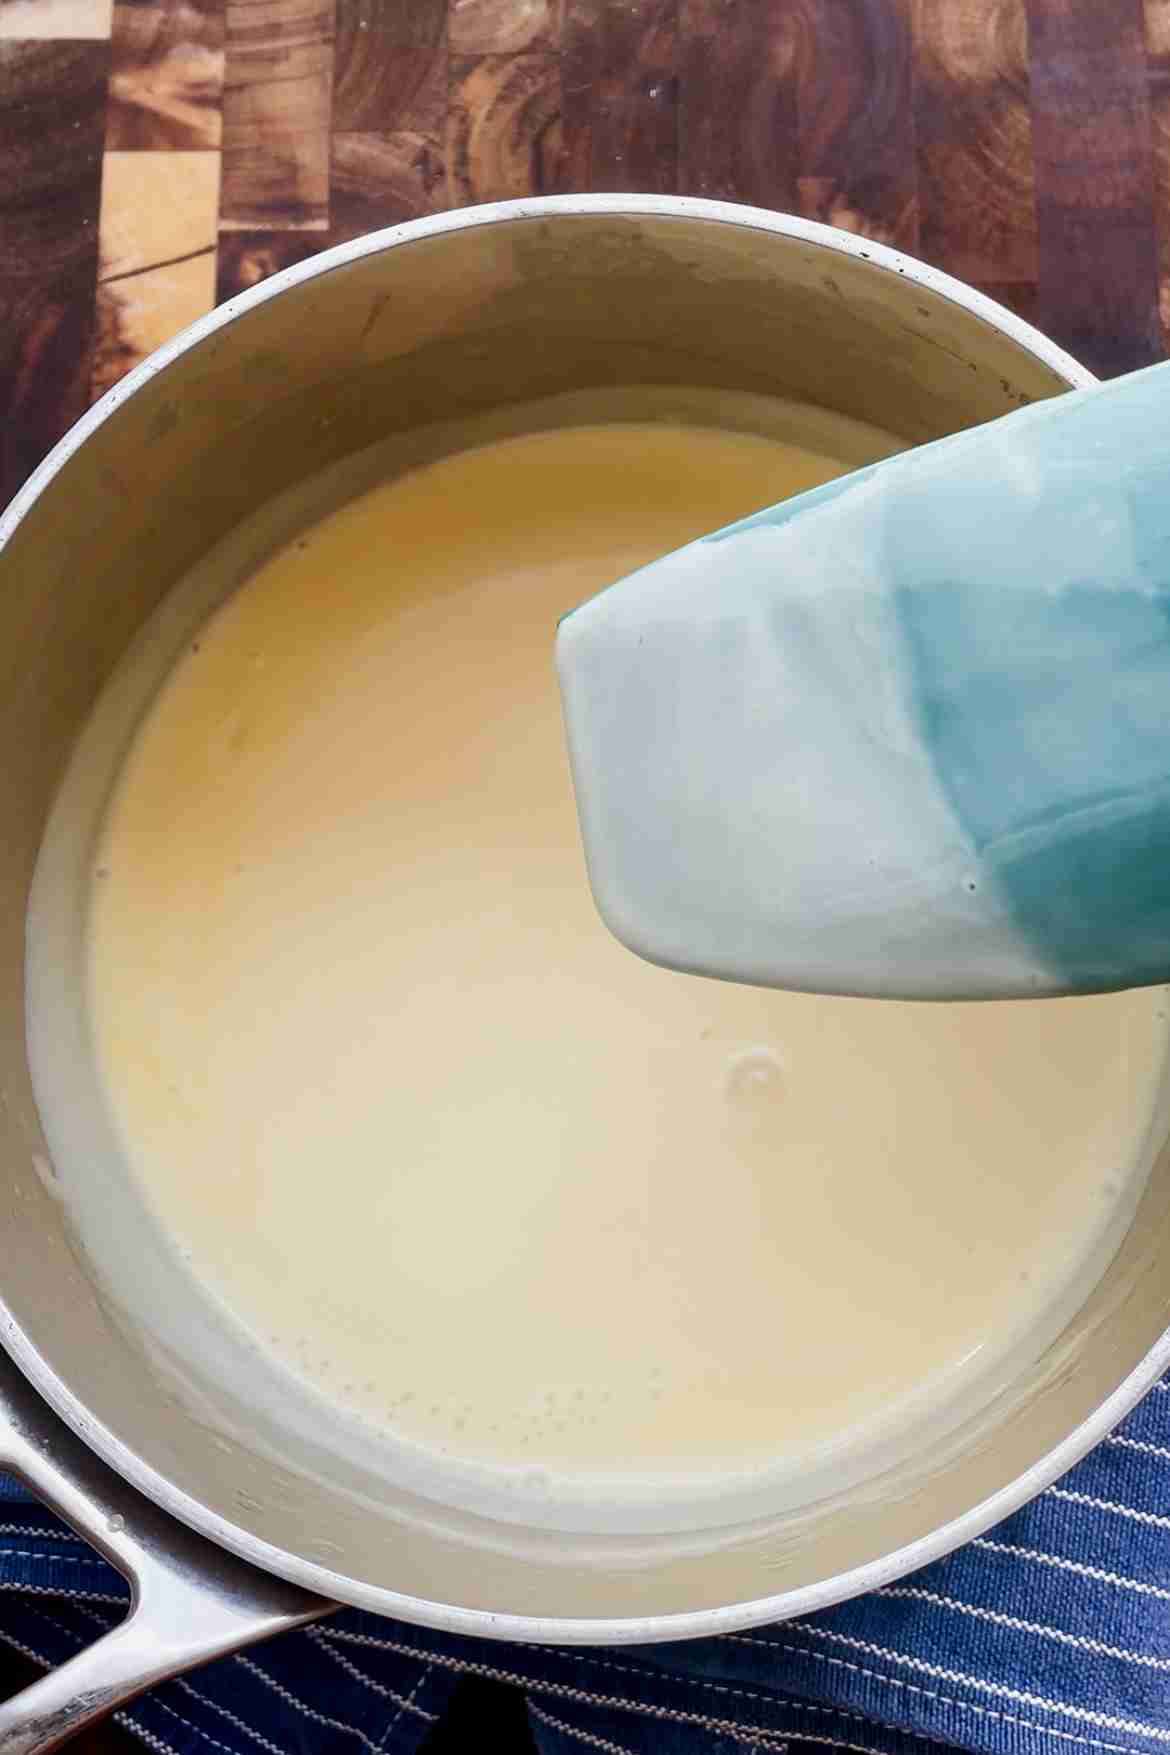
- Step 4: Cook over medium heat, stirring constantly, until the custard coats the back of a spoon and holds a clean line when you run your finger through it.
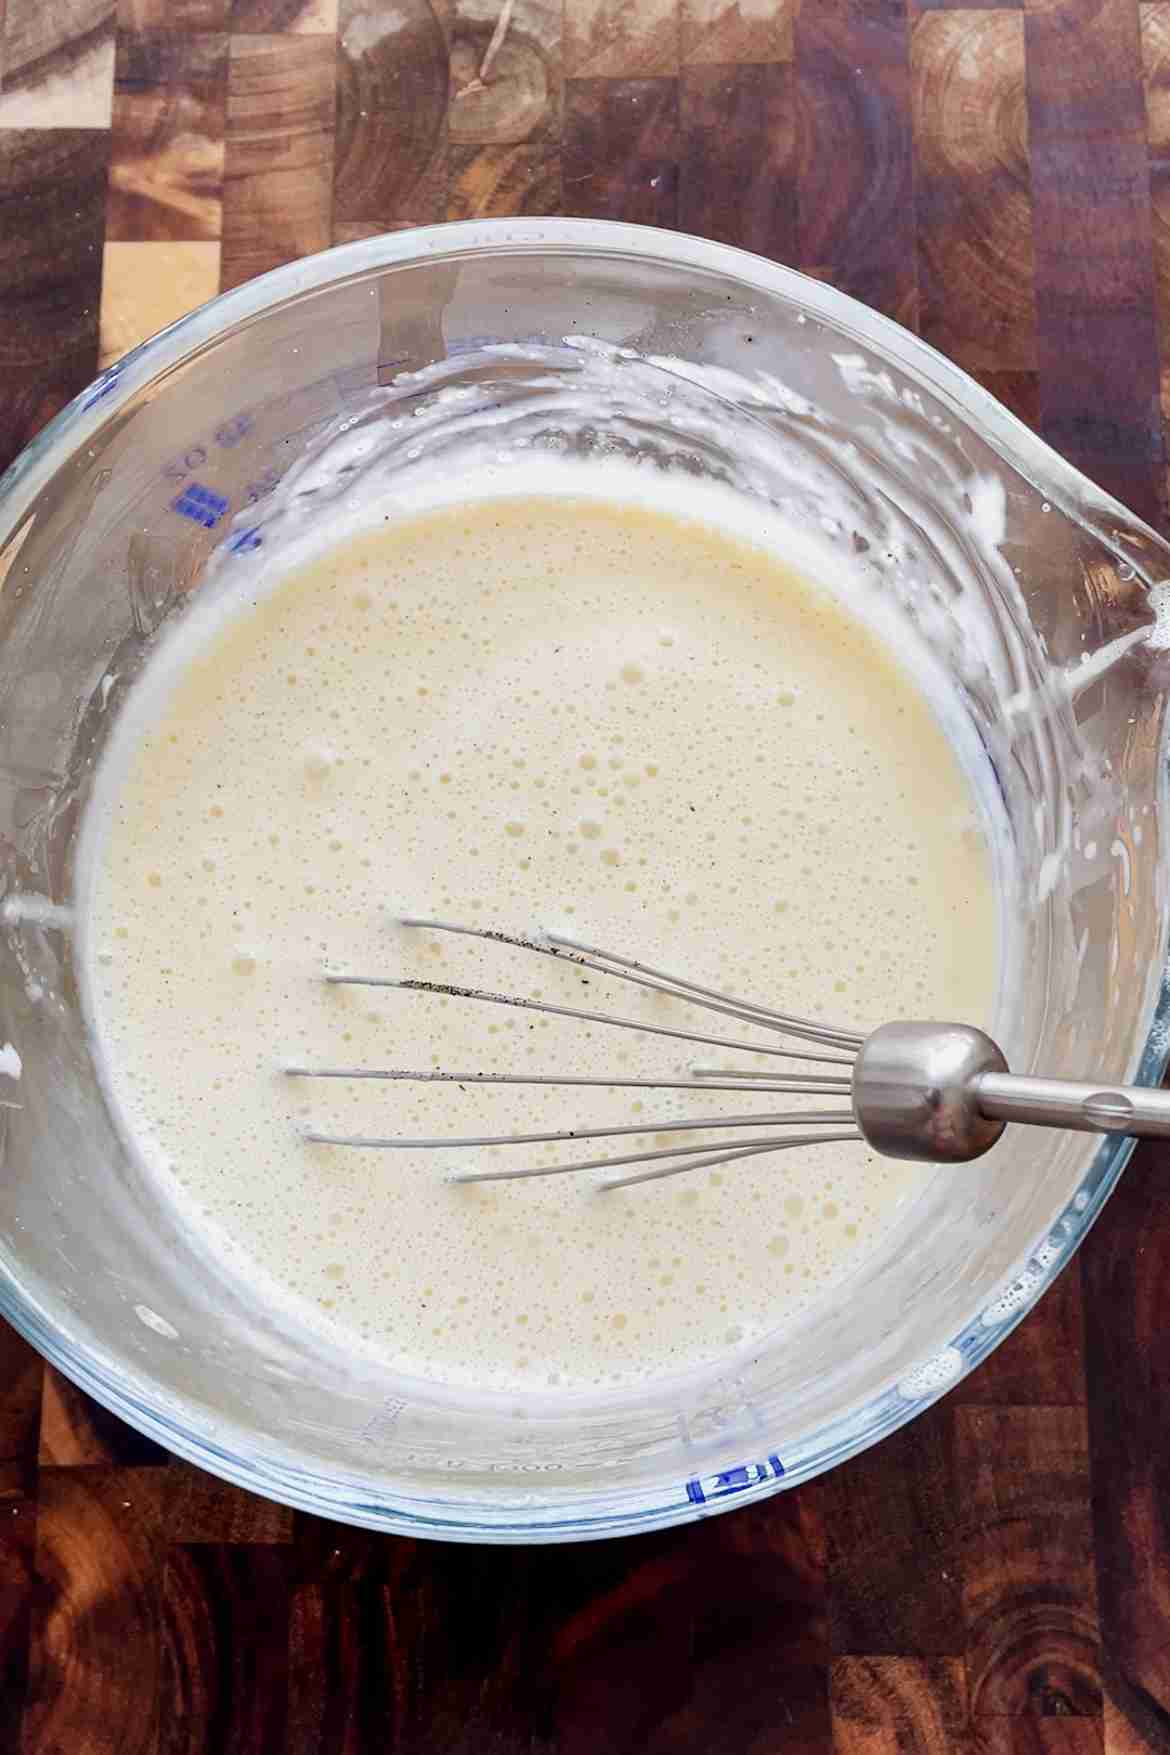
- Step 5: Remove from the heat, stir in the vanilla, then chill for at least 4 hours, or overnight.
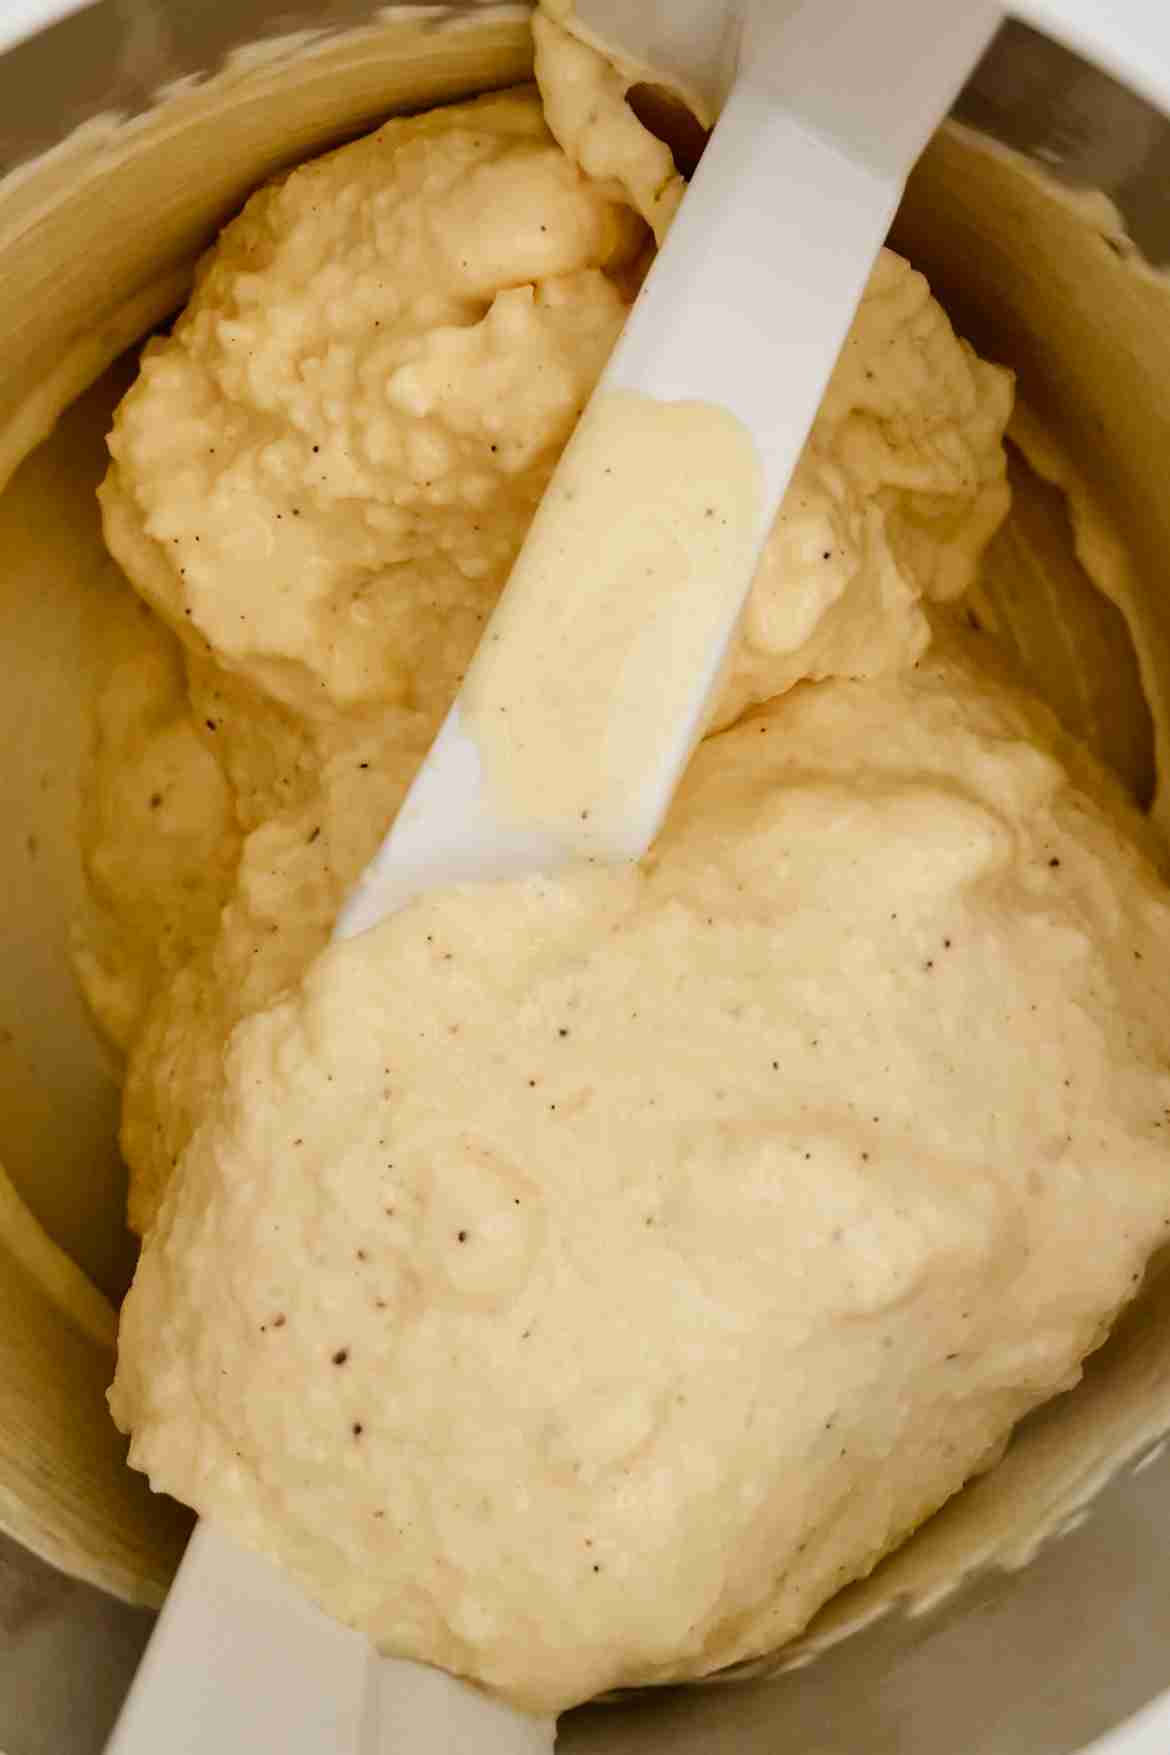
- Step 6: Churn the cold custard in your ice cream maker until it reaches a soft-serve consistency, then freeze for at least 2 hours for a firmer scoop.
Expert Tips
- Stir constantly once the eggs go in. Keep the heat at medium so nothing scrambles.
- Chill the custard fully before churning. A warm base won’t churn properly and melts too fast once scooped.
- Pre-freeze your ice cream maker bowl. Give it a full 24 hours in the freezer ahead of time.
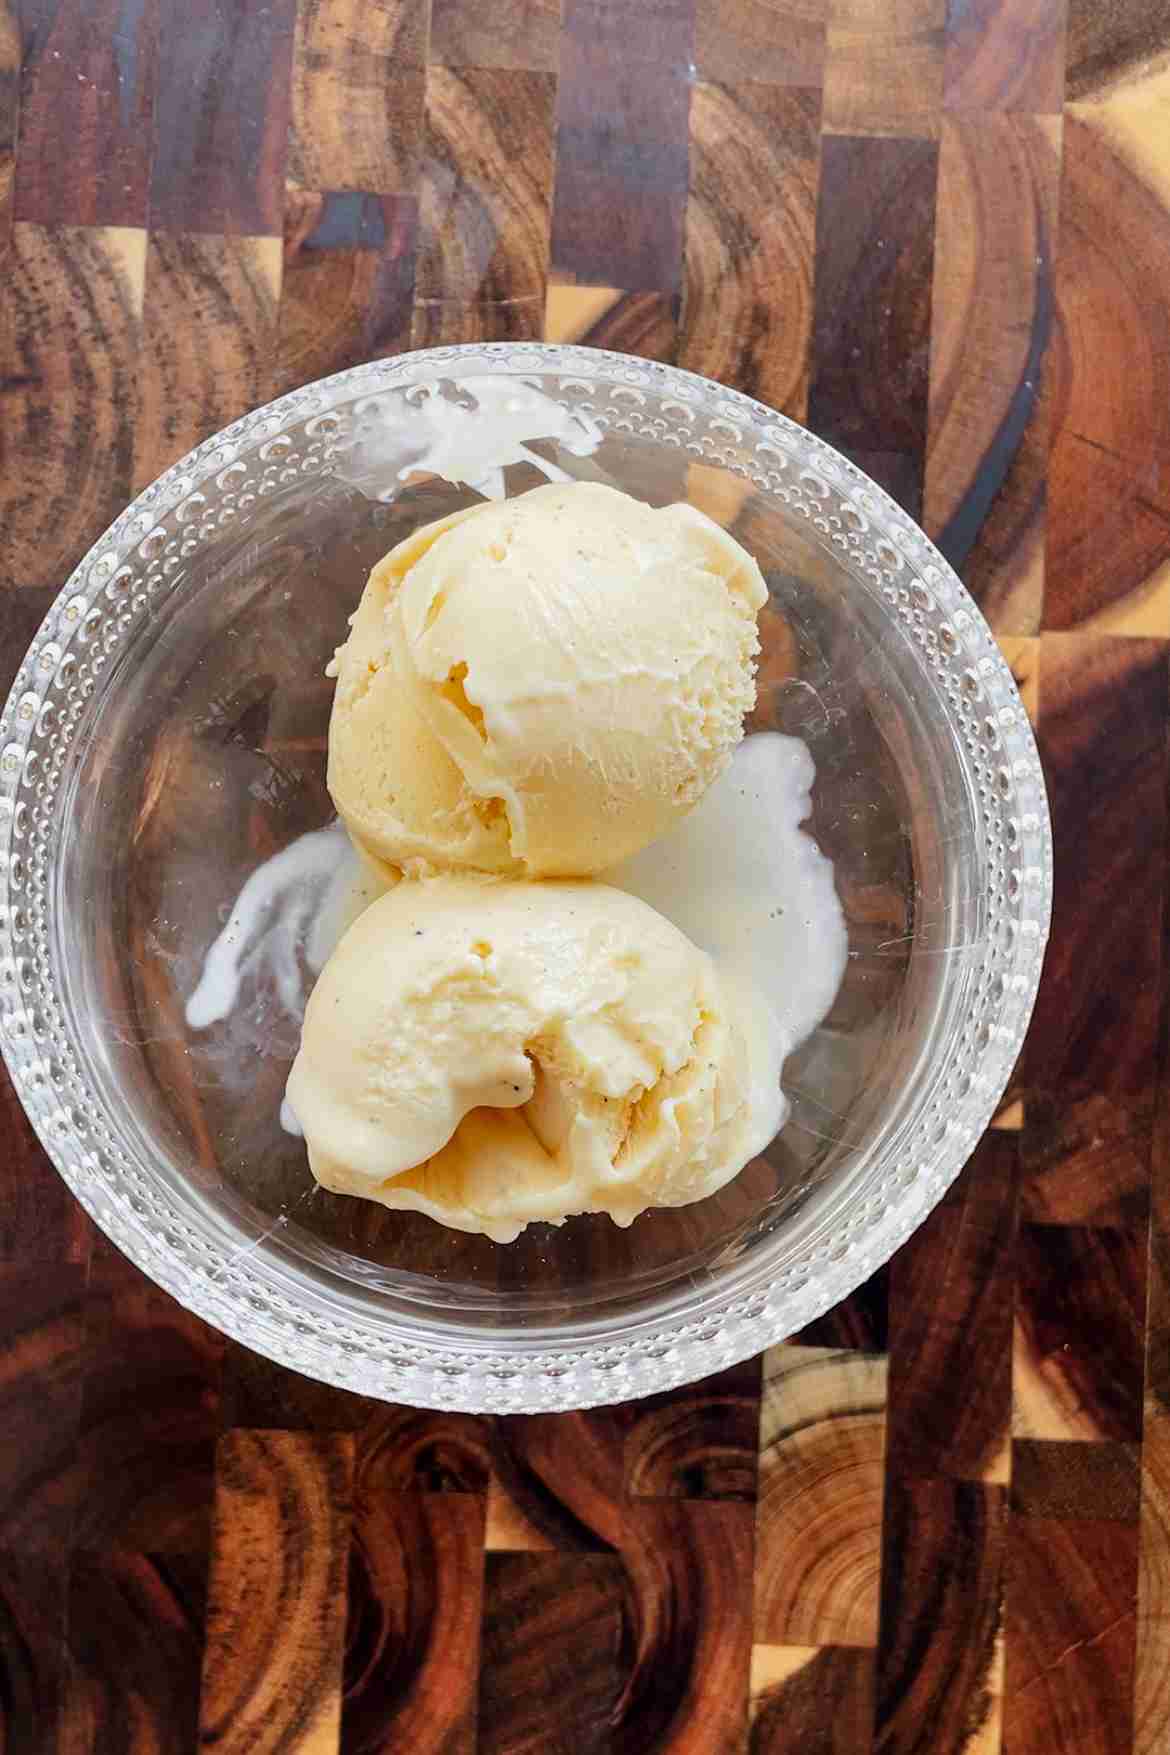
How to Store Vanilla Ice Cream
- Freezer Storage: Transfer the finished ice cream to an airtight, freezer-safe container. It keeps well for about 1-2 weeks for the best texture and flavor.
Related Recipes
FAQ
Yes. Pour the chilled custard into ice cube trays and freeze overnight. Blend the frozen cubes in a food processor until smooth and creamy, then freeze for two more hours before serving.
Store it in an airtight, freezer-safe container for the best texture within about 2 weeks, though it stays safe to eat for up to a month.
Yes, as long as your ice cream maker has the capacity to churn the larger batch. Every ingredient doubles cleanly.
Did you make this recipe?
If you make this vanilla custard ice cream, leave a star rating and let me know how it turned out in the comments. And if you share it on Instagram, don’t forget to tag me @your_kitchen_lab so I can see your creations.
Ice Cream Recipes
You might also like:

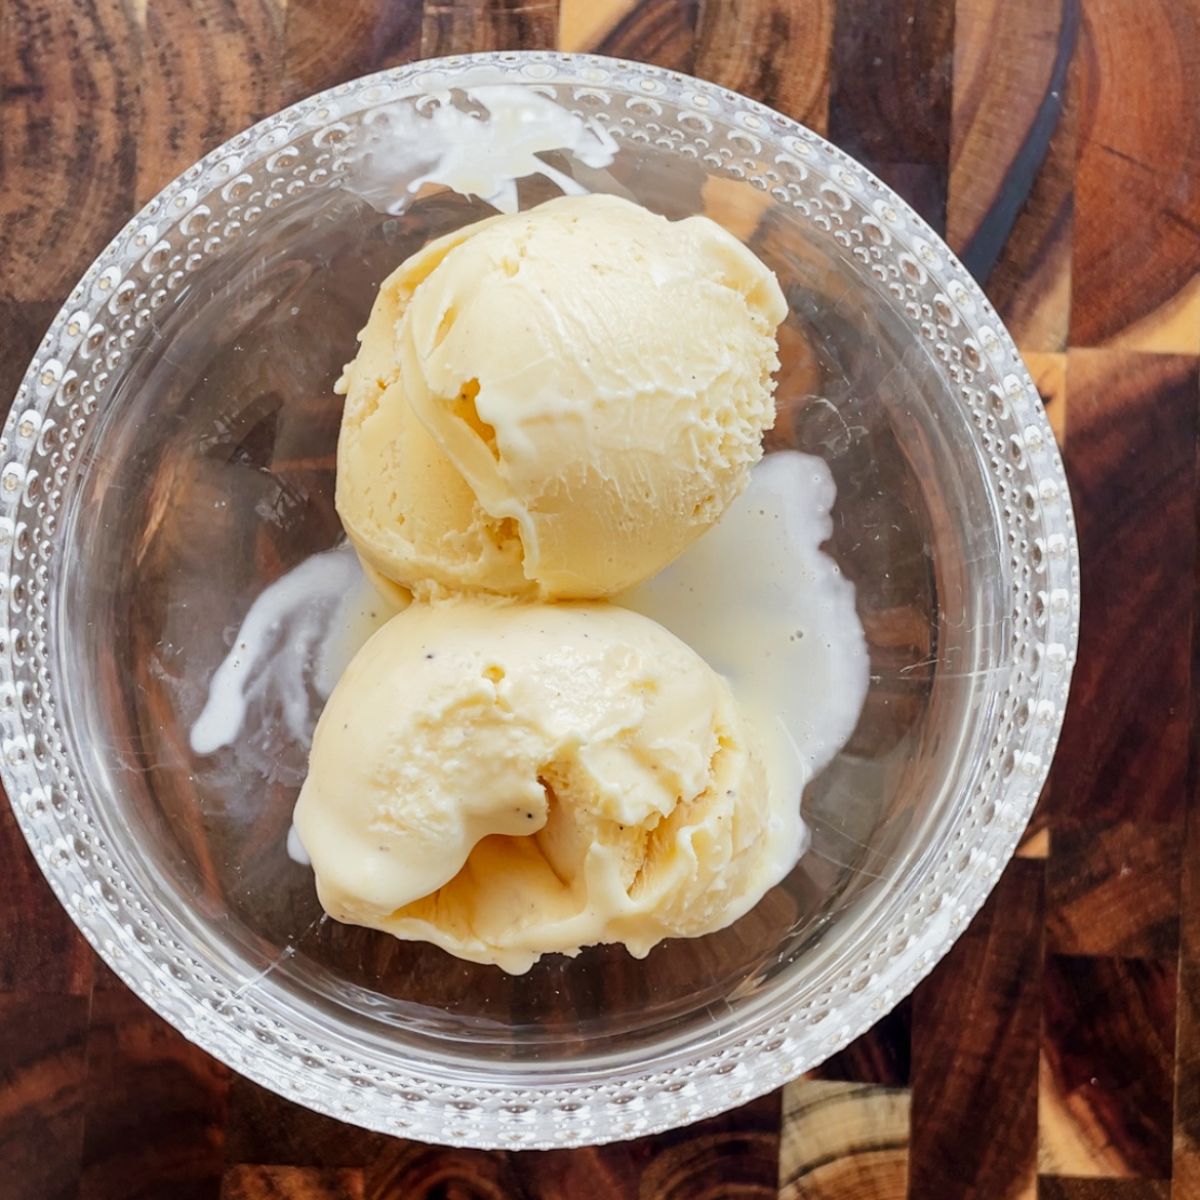
Vanilla Custard Ice Cream
Ingredients
Equipment
Method
- Add the milk and heavy cream to a medium saucepan. Warm over medium heat, stirring occasionally, until hot with small bubbles just starting to form around the edges, not boiling.
- Meanwhile, whisk the egg yolks, sugar, and a pinch of salt together in a medium bowl until pale and well combined.
- Slowly ladle about half a cup of the warm milk mixture into the egg yolks, whisking constantly. Repeat with another half cup, then pour the tempered egg mixture back into the saucepan with the rest of the milk and cream.
- Return the saucepan to medium heat and cook, stirring constantly, until the custard thickens enough to coat the back of a spoon and holds a clean line when you run your finger through it, about 5 to 8 minutes. Do not let it boil.
- Remove from the heat and stir in the vanilla extract.
- Pour the custard into a bowl, cover, and refrigerate for at least 4 hours, or overnight, until completely cold.
- Churn the chilled custard in your ice cream maker according to the manufacturer’s instructions, until it reaches a soft-serve consistency.
- Transfer to a freezer-safe container and freeze for at least 2 hours for a firmer scoop, or serve right away as soft serve.
Video
Notes
- No ice cream maker? Freeze the chilled custard in ice cube trays overnight, then blend until smooth in a food processor and freeze for 2 more hours before serving.
- Let the ice cream sit at room temperature for 5 to 10 minutes before scooping if it’s been in the freezer for more than a few hours.
- Nutrition is an estimate and will vary depending on the exact ingredients used.


Comments
No Comments