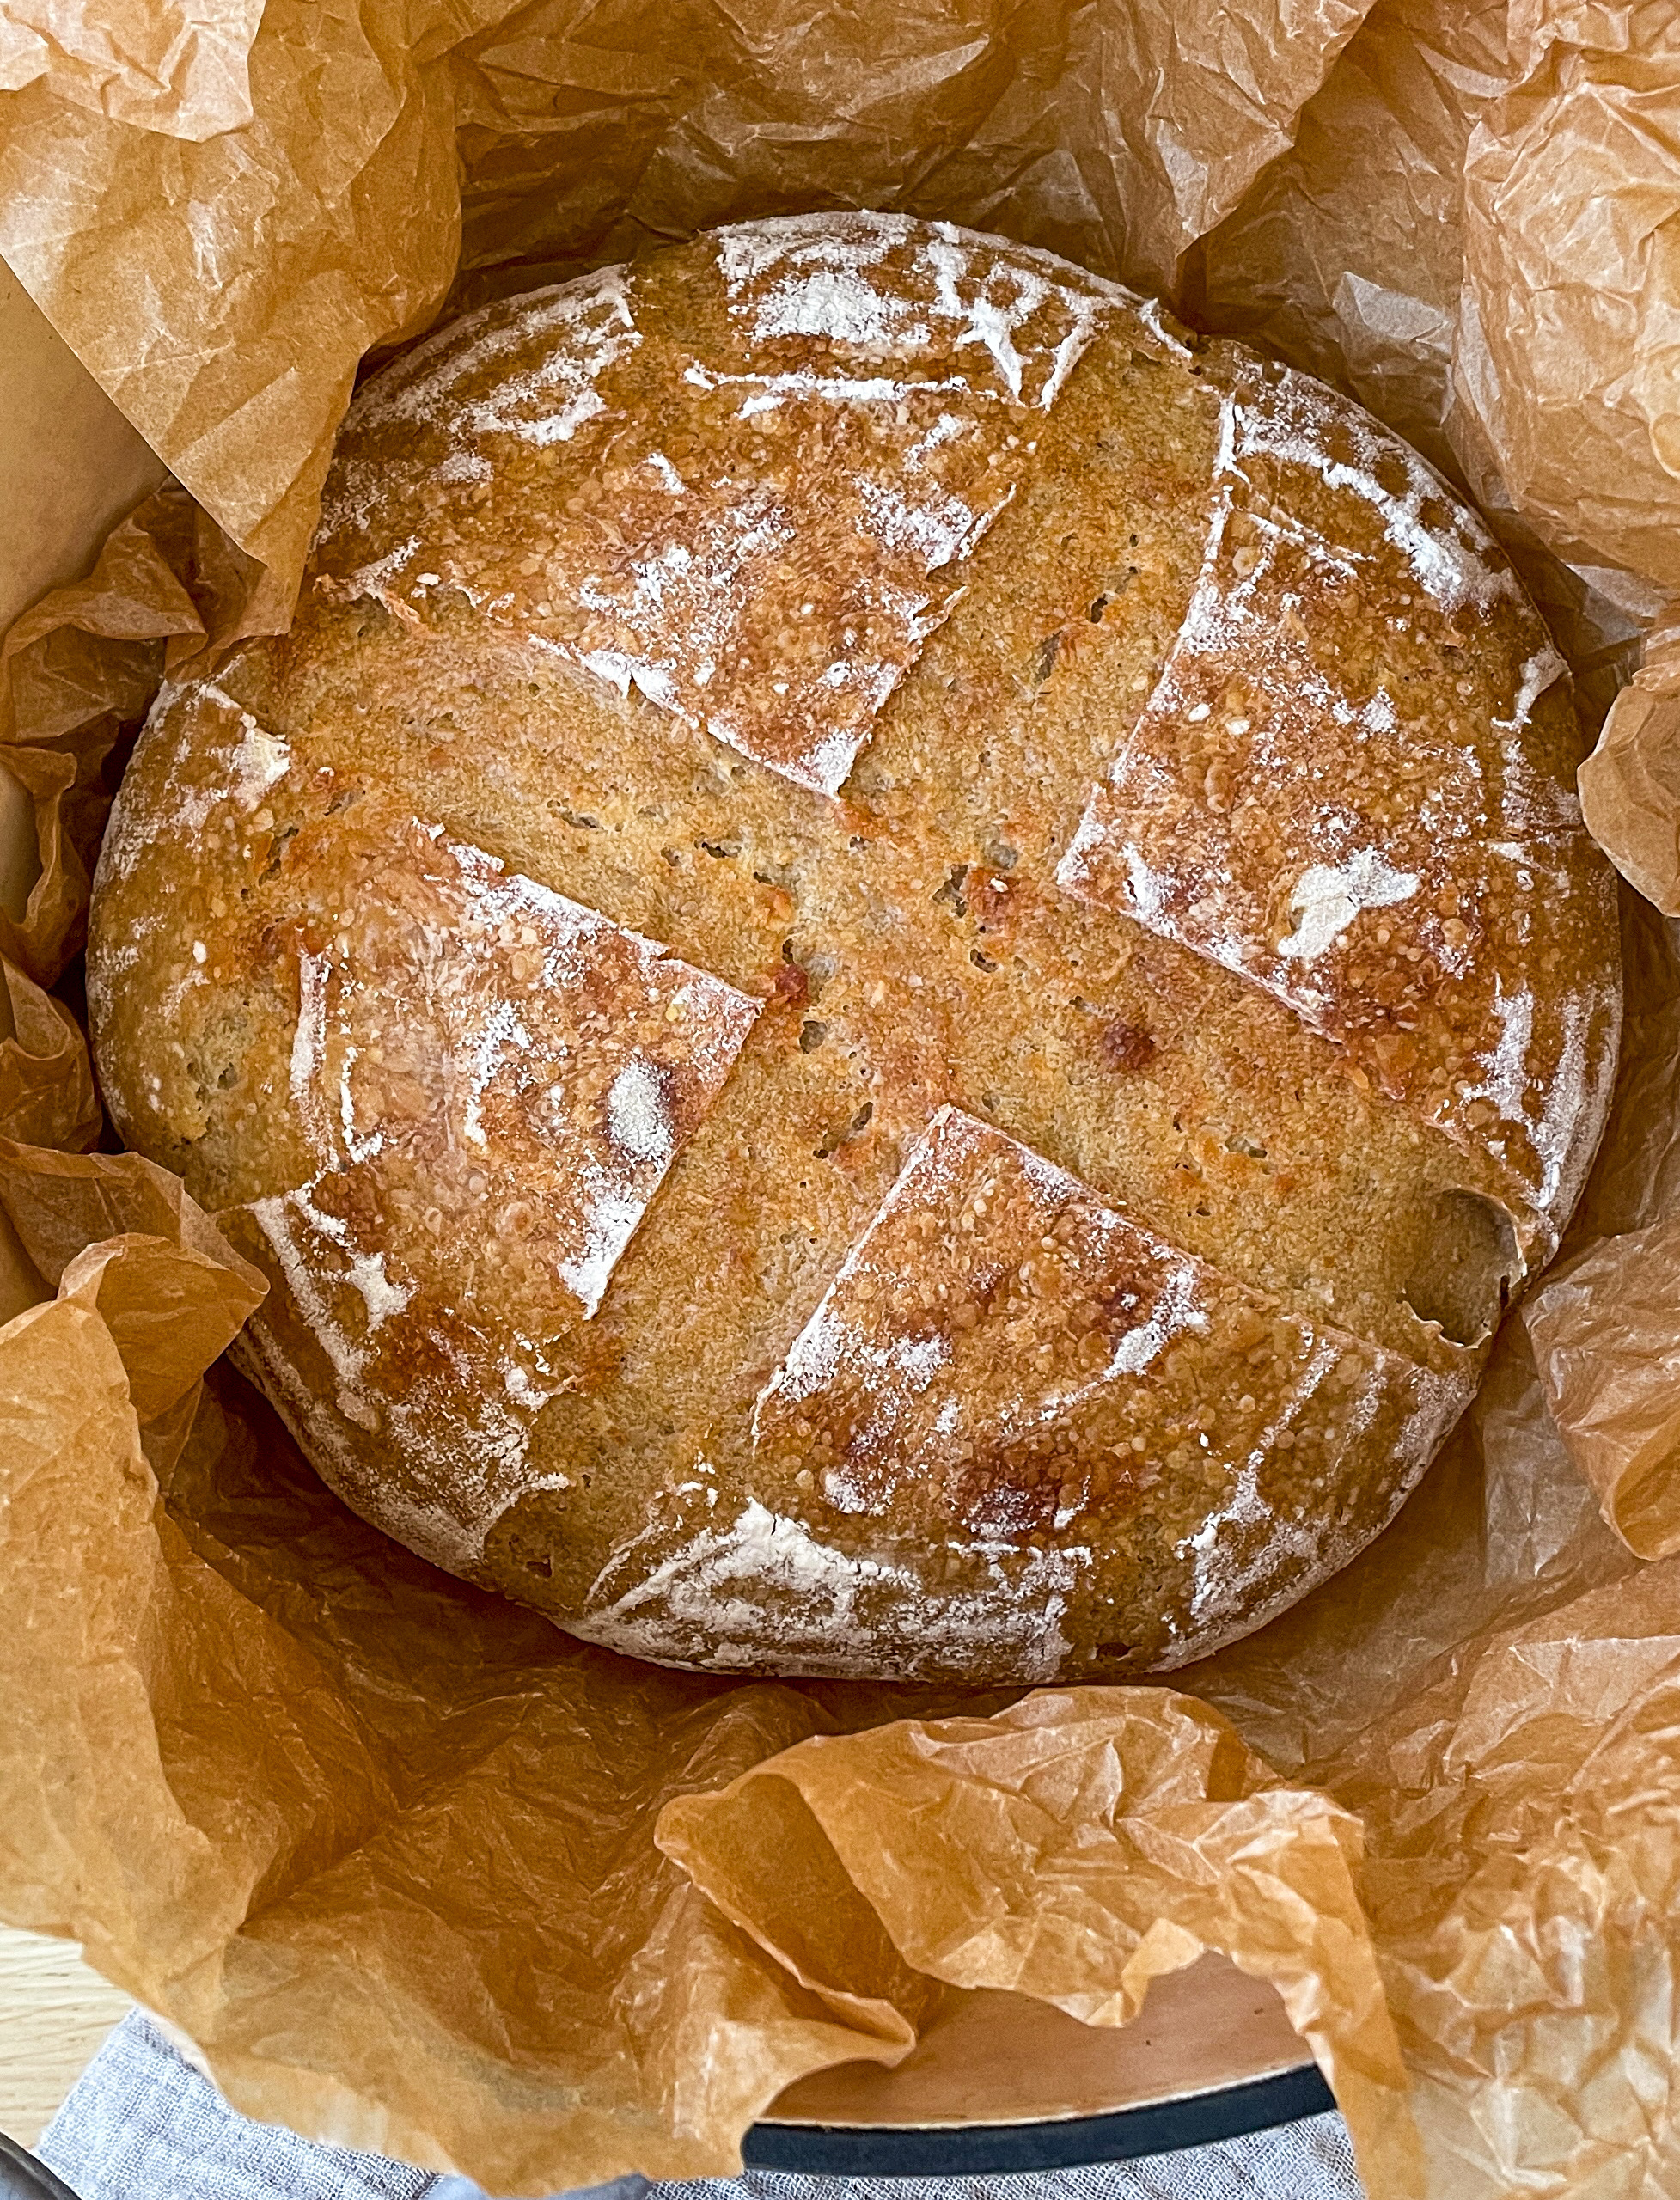
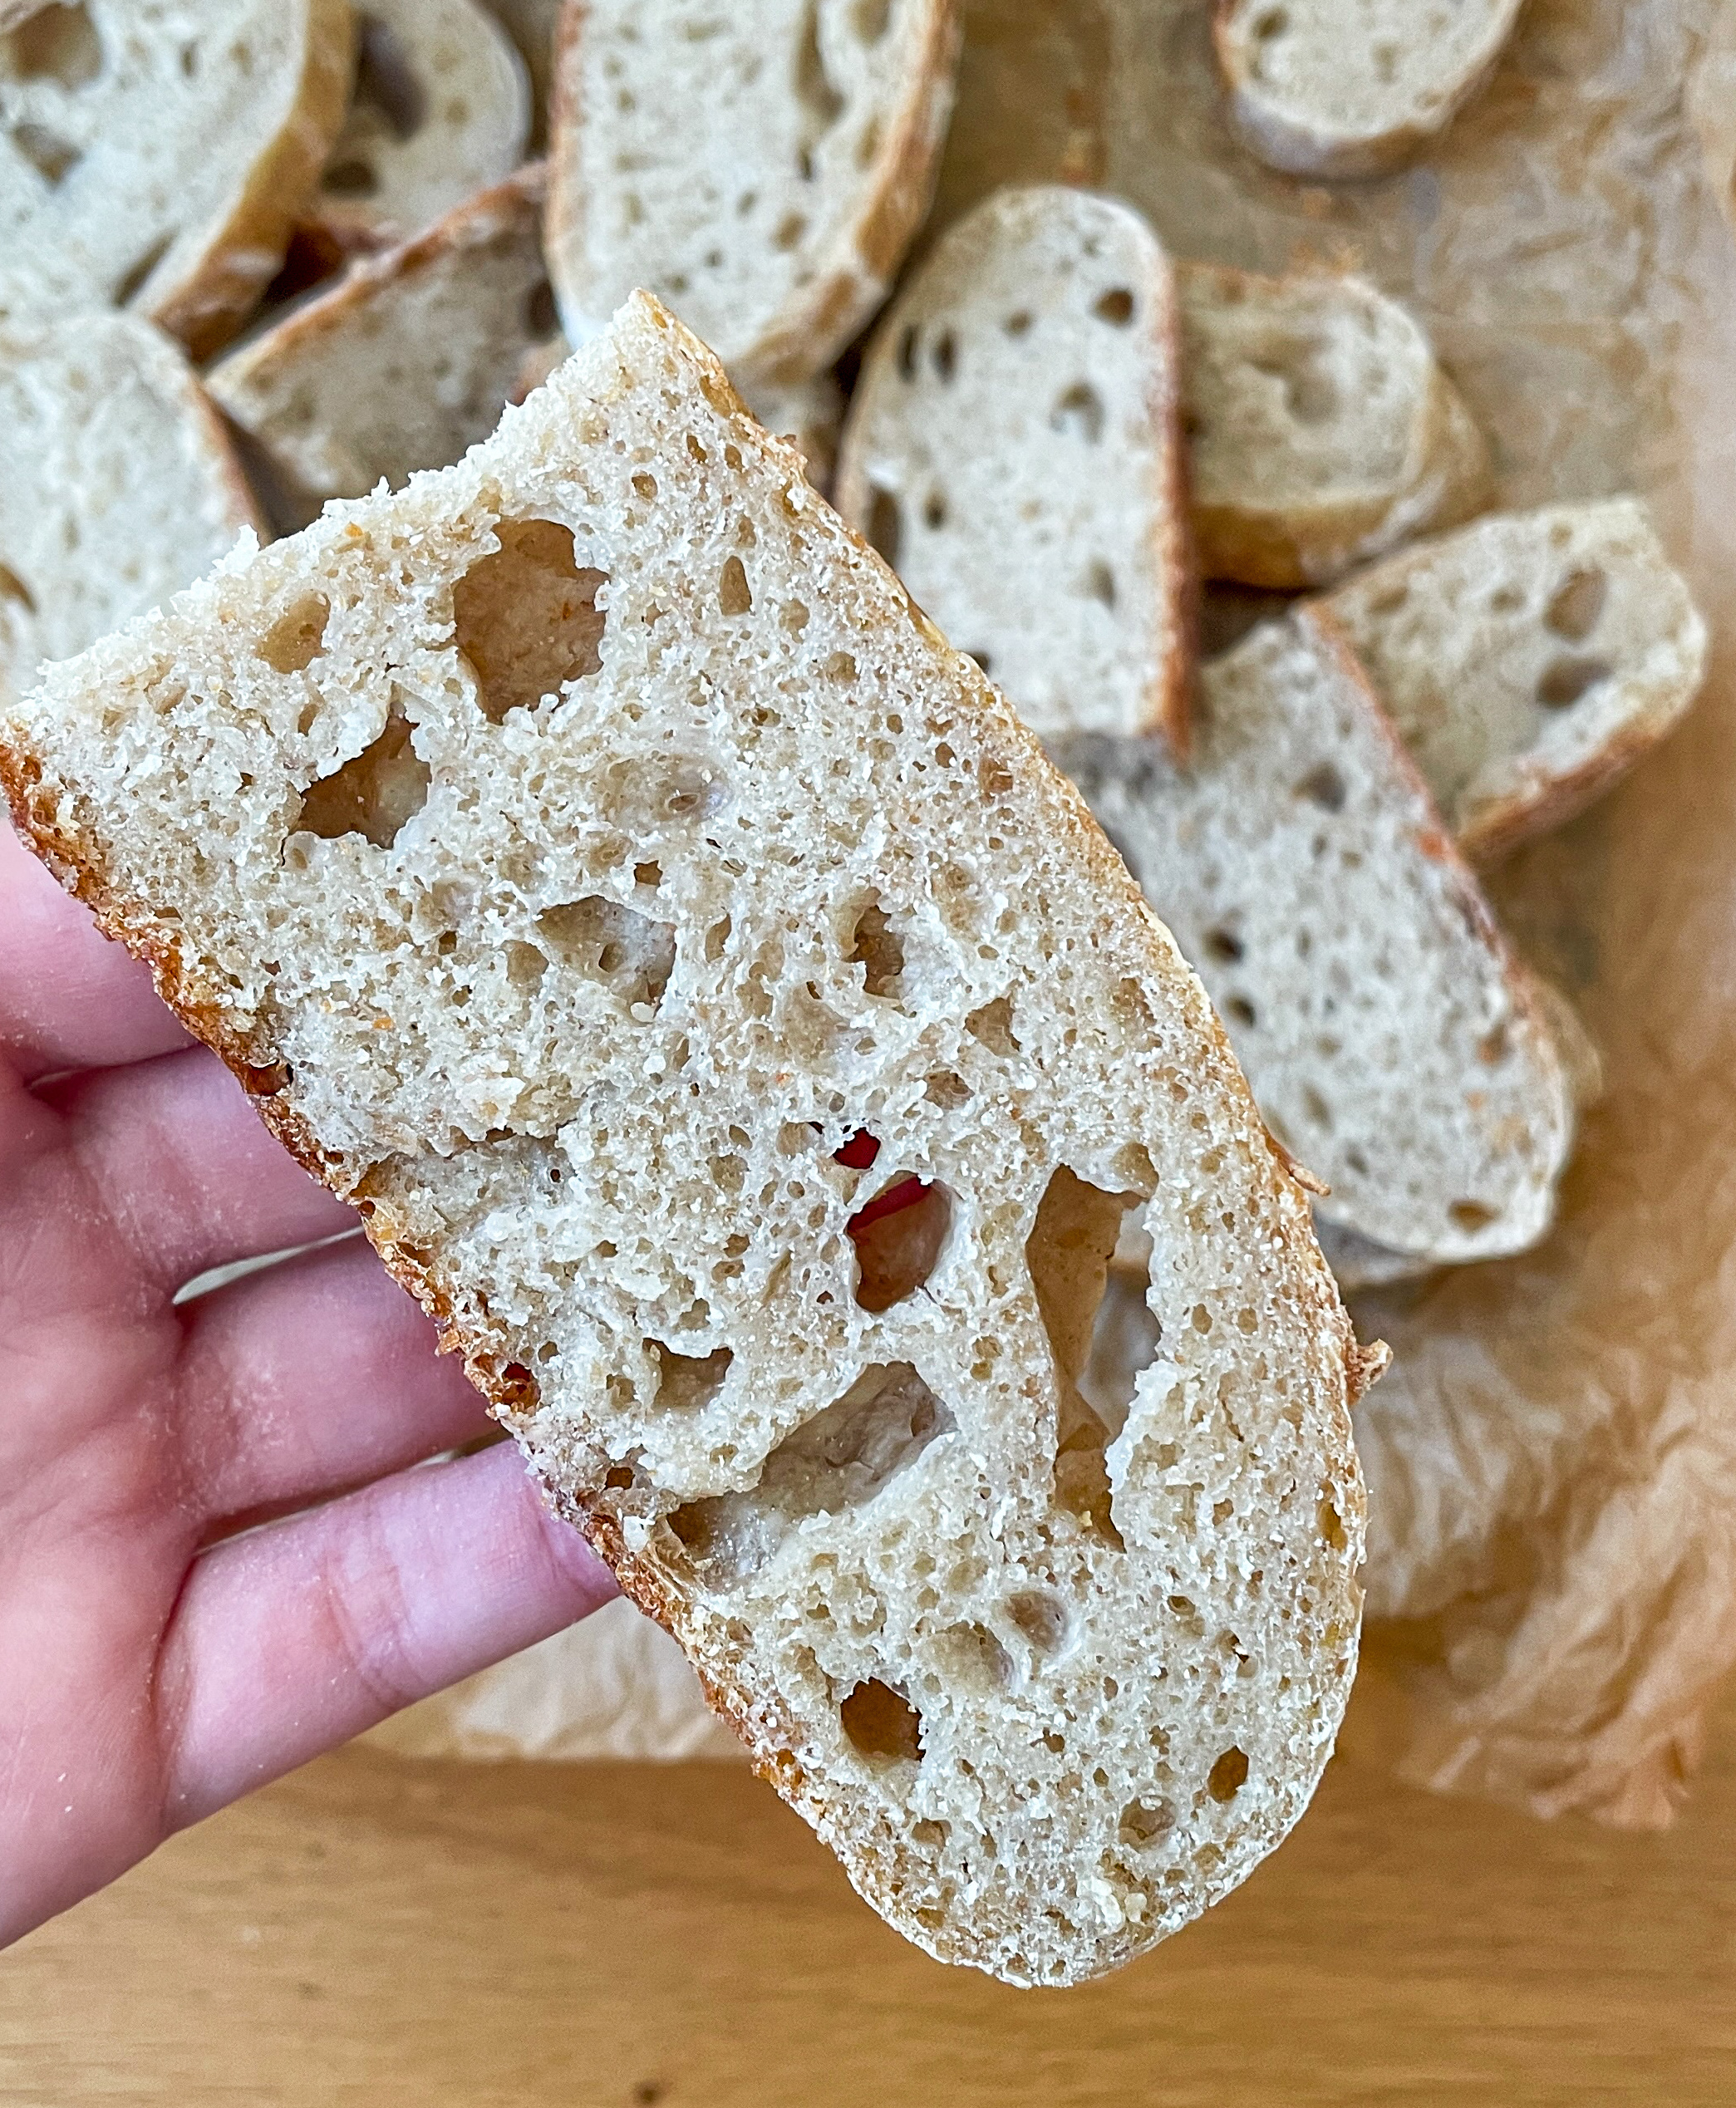
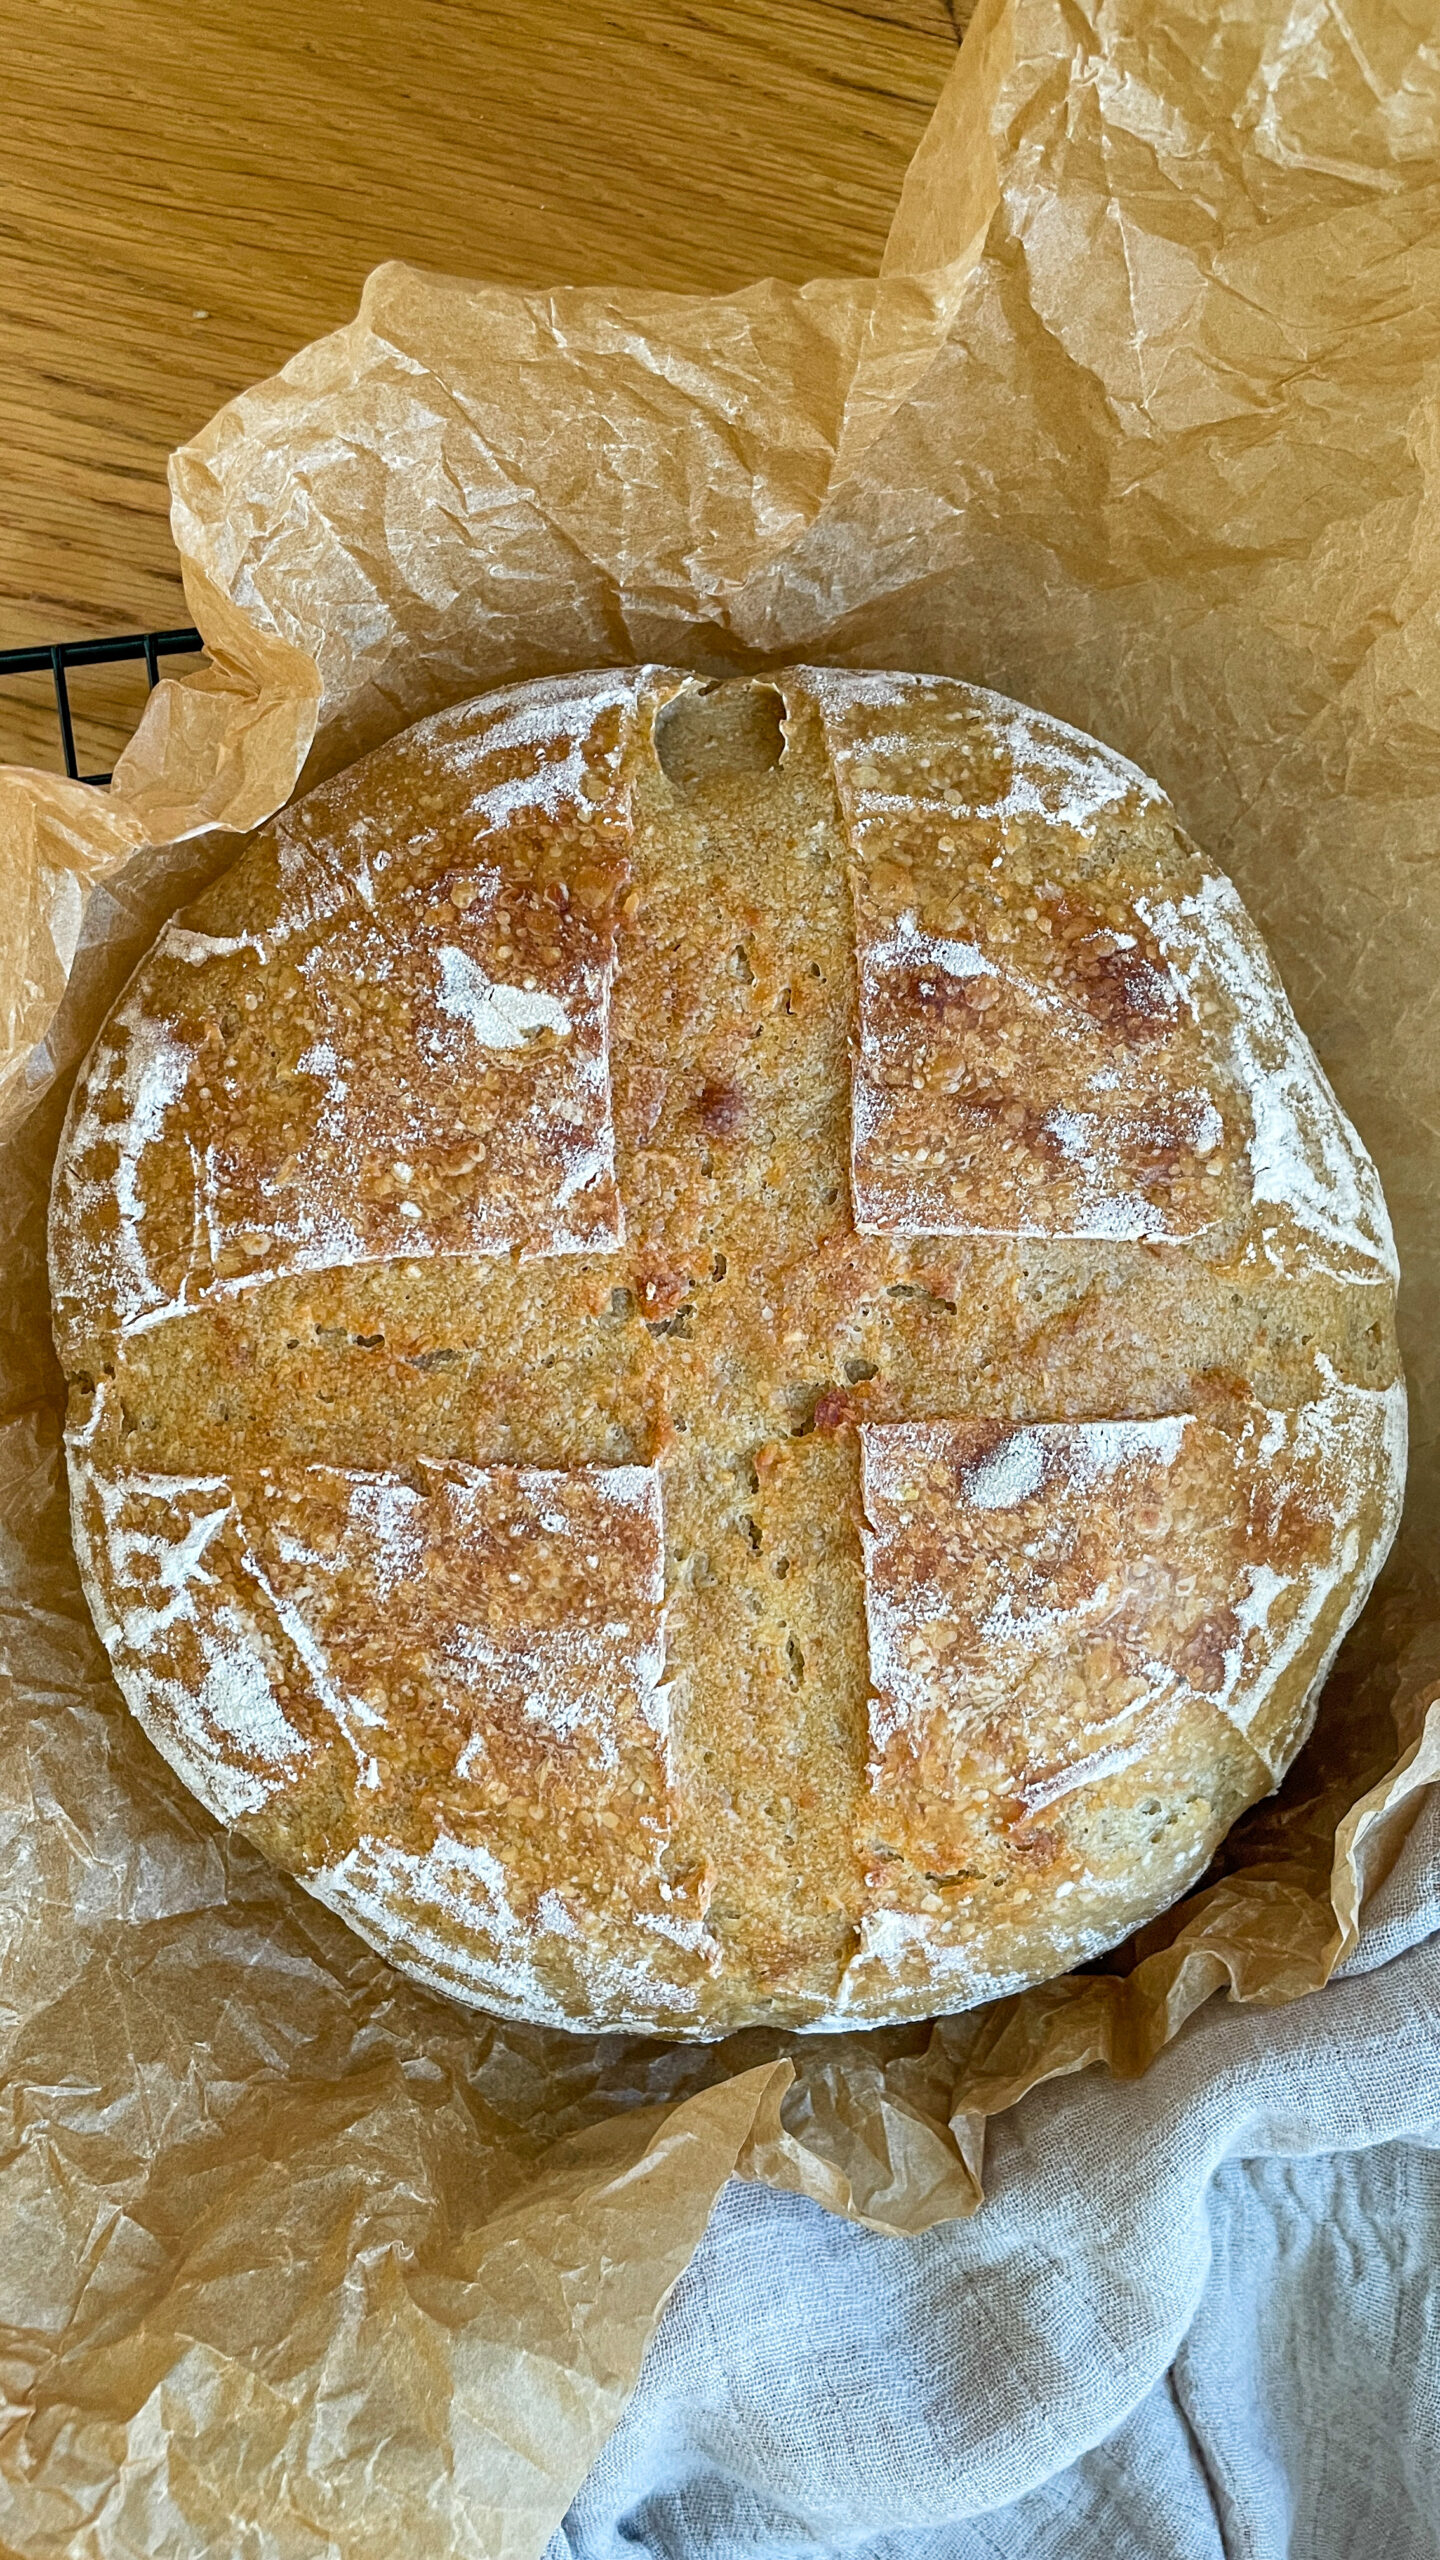
There’s something magical about baking your own sourdough bread. With its crisp crust, soft crumb, and rich flavor, sourdough is more than just bread, it’s an experience. This step-by-step guide will help you create a bakery style loaf from scratch.

Why Sourdough Bread Is Worth the Hype?
Sourdough bread has stood the test of time, not just for its unique taste and texture but also for its potential health benefits. Unlike conventional bread made with baker’s yeast, sourdough uses a natural fermentation process involving wild yeast and lactic acid bacteria. It’s loaded with benefits that set it apart from regular bread:
- It’s naturally more nutritious: The fermentation process breaks down phytic acid, which can block your body from absorbing minerals like magnesium and zinc. This means sourdough helps you get more of the good stuff from your bread.
- Easier to digest: Thanks to its long fermentation, sourdough breaks down gluten more effectively than bread made with baker’s yeast. This makes it gentler on the stomach, especially for those with mild gluten sensitivities.
- Better for blood sugar: Sourdough has a lower glycemic index, meaning it digests more slowly and is less likely to cause spikes in blood sugar levels.
- The flavor is unbeatable: That tangy, slightly sour taste and the perfect mix of crusty and soft textures make sourdough a joy to eat.
Sourdough Bread Ingredients
Here’s what you’ll need:
- Active sourdough starter: Make sure it’s active and bubbly. Your starter is your wild yeast.
- Water: just filtered water at room temperature.
- Flour: All purpose or bread flour works best.
- Salt: Use any salt.
Tips for Success
- Give your starter time: Make sure your sourdough starter is bubbly and doubled in size before you begin. This ensures that your dough will rise beautifully.
- Go slow: Sourdough bread requires time and patience. Let the dough rest, rise, and work its magic.
- Temperature matters: If your kitchen is chilly, consider giving your dough a bit more time to rise. Warmth helps the fermentation process.

How To Make Sourdough Bread Loaf From Scratch
STEP 1: Feed Your Starter
The evening before you plan on making the bread, feed your sourdough starter. This will ensure that by the next morning, it’s bubbly and active, ready to be used in your bread.
Step 2: Make the Dough
In a large bowl, combine the water and sourdough starter. Stir until everything is well mixed. Add the flour and salt, and mix until a sticky dough forms.
Step 3: Rest the Dough
Cover the dough with a damp towel and let it rest for about 30 minutes to 1 hour. This is when the dough absorbs the liquids, and it helps to make the dough easy to handle later.
Step 4: Stretch and Fold
After the dough has rested, it’s time for the stretch and fold technique. Wet your hands with a bit of water to prevent sticking, then gently pull one side of the dough and fold it over onto the other side. Rotate the dough and repeat this for about 8-10 folds.
Cover the dough again with the damp towel and wait for 30 minutes. Then, repeat the process again. I usually do this about 3-5 rounds depending on the time I have. Sometimes I only do two rounds, and that works just fine. The idea is to build strength in the dough.
Step 5: Let the Dough Ferment
Once you’ve finished the last round of stretch and folds, cover your dough with plastic wrap. Let it ferment for 6-8 hours, depending on your room temperature. The dough should double in size during this time.
Step 6: Shape the Loaf
When the dough is ready, flour a clean surface and gently turn out your dough. Shape it by folding the edges toward the center and rolling it gently.
Take a banneton (proofing basket) or a bowl lined with a kitchen towel, and dust it heavily with flour. Place the dough seam-side up in the basket. Cover it with plastic wrap and put it in the fridge to proof overnight for 12 to 24 hours.
Step 7: Preheat and Bake
The next morning, preheat your oven to 230°C (450°F) with a Dutch oven inside. Turn the dough out onto a piece of parchment paper. Use a sharp knife or bread lame to score the top of the dough (a deep slash helps it expand in the oven). Transfer the dough (with parchment paper) into the hot Dutch oven.
Cover with the lid and bake for 20 minutes. Remove the lid, lower the temperature to 200°C (400°F) and bake for another 15–20 minutes until the crust is golden brown.
Step 8: Cool and Slice
Once the bread is done, take it out of the dutch oven and let it cool completely for 1-2 hours before cutting. This cooling time is important! Don’t slice it right away, it helps the bread set properly.
How to Store Sourdough Bread?
Once your bread is completely cool, slice it up and store it in the fridge for 5-7 days. I like to freeze it in slices so that I can enjoy fresh bread anytime.

Beginner’s Sourdough Bread Recipe
Ingredients
- 300 g (1 ¼ cups) water
- 150 g (½ cup) active sourdough starter
- 500 g (4 cups) all-purpose or bread flour
- 10 g (2 tsp) salt
Instructions
-
Feed Your Starter: The evening before baking, feed your sourdough starter with equal parts water and flour. Let it sit at room temperature overnight to ensure it's active and bubbly.
-
Combine Wet Ingredients: In a large bowl, mix water and sourdough starter.
-
Add flour and salt to the mixture. Mix until the dough just comes together. Do not overmix.
-
Rest the Dough: Cover the bowl with a damp towel and let the dough rest for 30 minutes to 1 hour to absorb the liquids.
-
Stretch and Fold: Wet your hands. Perform 8-10 stretch-and-fold motions (gently pulling one side of the dough and folding it over). Cover the bowl and let it rest for 30 minutes. Repeat this process for 3-5 rounds, depending on time.
-
Bulk Fermentation: After the final stretch-and-fold, cover the dough with plastic wrap and let it ferment at room temperature for 6-8 hours, or until it nearly doubles in size.
-
When the dough is ready, flour a clean surface and gently turn out your dough. Shape it by folding the edges toward the center and rolling it gently. Take a banneton (proofing basket) or a bowl lined with a kitchen towel, and dust it heavily with flour. Place the dough seam-side up in the basket. Cover it with plastic wrap and put it in the fridge to proof overnight for 12 to 24 hours.
-
Bake the Bread: preheat your oven to 230°C (450°F) with a Dutch oven inside. Turn the dough out onto a piece of parchment paper. Use a sharp knife or bread lame to score the top of the dough (a deep slash helps it expand in the oven). Transfer the dough (with parchment paper) into the hot Dutch oven. Cover with the lid and bake for 20 minutes. Remove the lid, lower the temperature to 200°C (400°F) and bake for another 15–20 minutes until the crust is golden brown.
-
Cool and Slice: Once the bread is done, take it out of the dutch oven and let it cool completely for 1-2 hours before cutting. This cooling time is important! Don’t slice it right away, it helps the bread set properly.
Recipe Notes
- Cooling the bread completely before slicing ensures the crumb sets properly.
- Freeze sliced bread for easy reheating later.
- Do I need a Dutch oven?
A Dutch oven creates steam for a crisp crust, but you can use a baking stone and place a tray of water in the oven for steam.
