 If you’re someone who’s always wanted to make bone broth but felt intimidated by the slow cooker recipes, long cooking times, and confusing ingredient lists, this post is for you. I’ve been in your shoes. For years, I wanted to incorporate more collagen into my diet for healthier skin, hair, joints, and digestion, but I kept putting it off. Eventually, I decided to simplify everything. This post shares the exact stovetop method I’ve been using for nearly two years to make rich, collagen-packed bone broth without overcomplicating the process.
Why I Started Making My Own Bone Broth
I first heard about bone broth years ago and was intrigued by its benefits: collagen, minerals, gut support, but the process seemed overwhelming. Most recipes required a slow cooker and hours of prep. I even tried buying powdered bone broth, but it tasted awful, was pricey, and didn’t feel like real food. So I finally took the leap and tried making my own, on the stovetop, with minimal ingredients and never looked back.
What You Need to Know Before You Start Making Bone Broth
Let’s bust a myth: You don’t need fancy bones, a slow cooker, or a full day off to make bone broth. All you really need are good quality beef bones (I buy mine from a local farmer), water, apple cider vinegar, and optional vegetables. This is a foundational recipe, not a gourmet one and that’s what makes it easy to stick with.
Choosing the Right Bones
Don’t overthink this part. I use what’s labeled as “beef bones”, usually fatty, collagen rich cuts with connective tissue. You don’t need to ask for specific bones like knuckles or marrow unless you want to. I personally avoid adding meaty parts like oxtail these days, it’s more expensive and not worth the fuss for beginners. The bones you get from the legs or any dense, collagenous cuts will do just fine.
Why I Skip Roasting Bones
Some recipes call for roasting the bones first for deeper flavor. I used to do that too, but honestly? It just added dishes and time. I find the taste perfectly satisfying without roasting, and I’d rather save the effort so I actually stick to making this regularly. This recipe is designed to become a habit, not a hassle.
Step-by-Step Stovetop Bone Broth Method
While the full recipe card is at the end, here’s a quick overview of the process:
1. Clean the Bones
Rinse them well, you don’t want blood in your broth. No need to roast them.
2. Soak with Vinegar (No Heat Yet!)
Place bones in a large pot, cover with water, and add raw apple cider vinegar. Let it sit for 30 minutes. This step helps extract the minerals and collagen.
3. Add Veggies (Optional)
Add your chosen vegetables and herbs. Use scraps if you have organic veggie leftovers in the freezer, this makes it sustainable and budget-friendly.
4. Bring to a Boil, Then Simmer
Turn the heat on high until it boils. Then immediately lower it to the lowest setting and let it gently simmer for 10–12 hours. I usually start in the morning and turn it off at night.
If I’m going out, I don’t leave the stove on. I just pause the process and continue once I’m back.
5. Optional: Let it Sit Overnight
After simmering, I turn off the heat and let the pot sit overnight. I’ve read that this helps it release even more nutrients. In colder climates, this works fine. But if it’s very hot where you live, skip this step and strain it immediately.
6. Boil Again in the Morning (Just to Be Safe)
The next morning, I bring it back to a quick boil. Then I turn it off.
7. Straining & Storing
I use a strainer plus a cheesecloth or mesh cloth to get a super clear broth. You can skip the cloth if you’re okay with a bit of cloudiness.
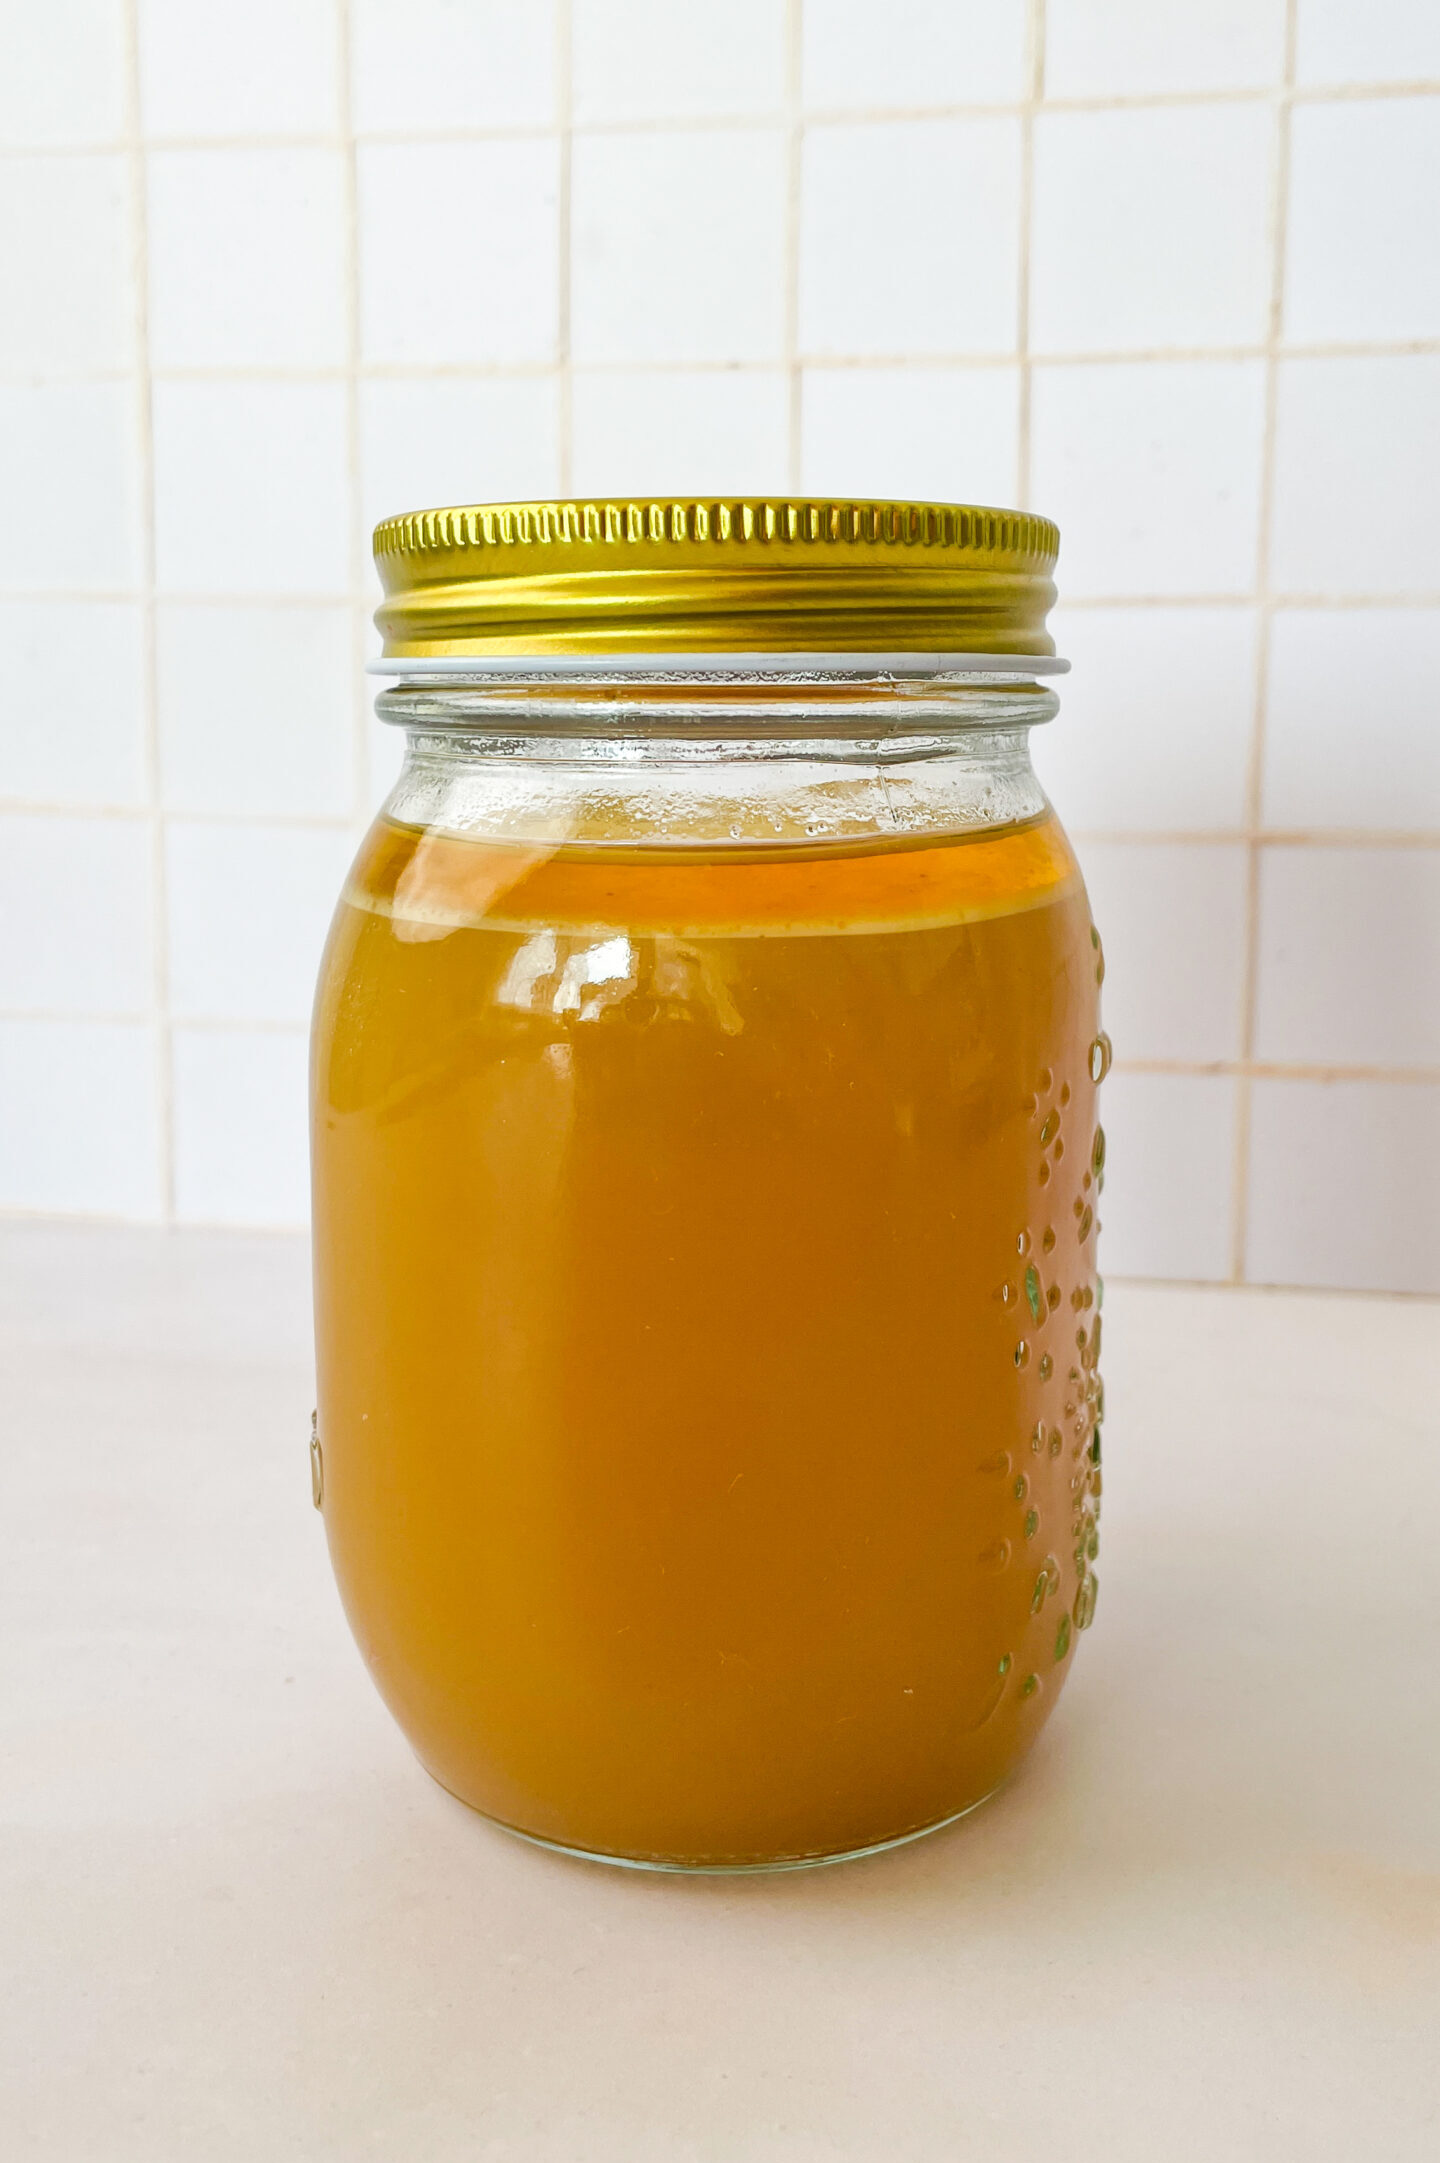
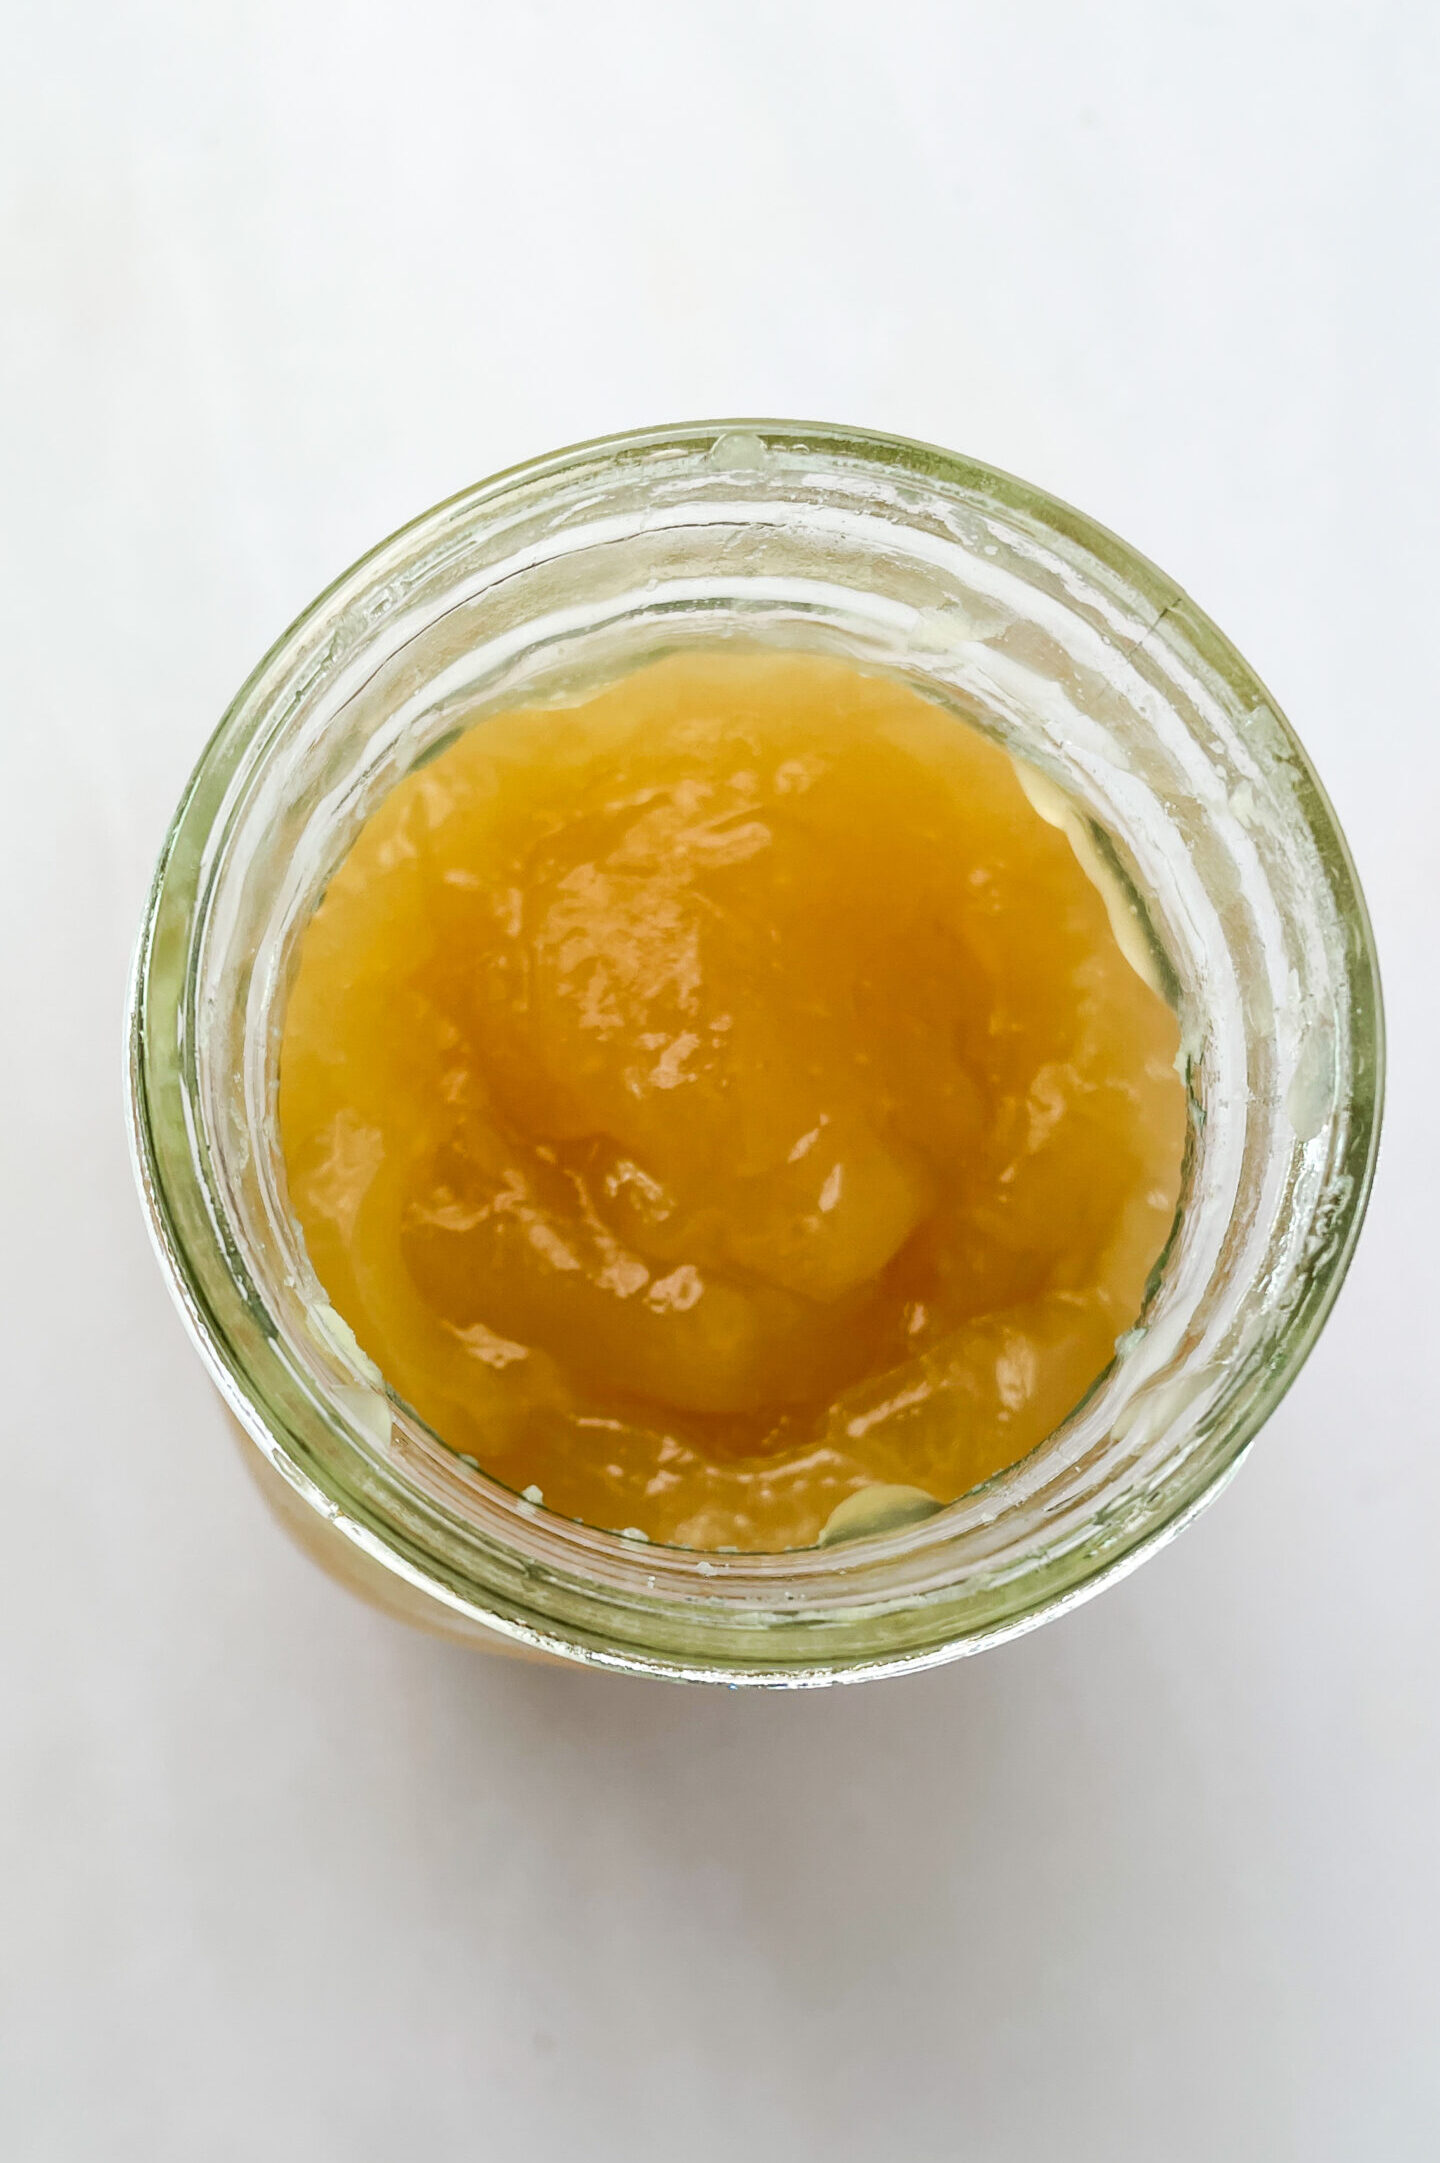
Do not let it cool in a big pot. You want to pour it immediately into individual mason jars while still hot, this allows the fat to naturally rise to the top and form a thick layer that seals the broth and keeps it fresh.
Once it’s cooled at room temp, I transfer it to the fridge.
How I Store My Bone Broth (Without Freezing)
This is the part that changed everything for me: I don’t freeze my bone broth anymore. I used to, but I didn’t like the texture or the taste after defrosting. Now, I store it in the fridge in jars, as long as the fat layer stays on top, the broth stays fresh for weeks. Sometimes over a month.
When I’m ready to use a jar, I remove the fat layer (don’t throw it away!), and reheat the broth. Once that fat seal is broken, I try to finish the jar within about 3 days to keep it fresh.
What I Do With the Fat: Homemade Beef Tallow
Every time I scoop off the fat from a jar, I collect it in a food container and keep it in the freezer. Once I’ve got a full container (usually after a couple batches), I render it into beef tallow.
How I Render Fat into Tallow:
-
Place the collected fat in a pot.
-
Heat it on low until all water evaporates (about 1–2 hours).
-
You’ll notice some browning bits, that’s when it’s done.
-
Strain it (I use the same cloth) and pour it into jars.
You now have beef tallow: an amazing, heat-stable cooking fat that’s also full of fat-soluble vitamins. I use it for frying, roasting, and even sometimes as a skincare balm. Seriously. One ingredient, endless uses.
Is Bone Broth Really That Good for You?
While I can’t give medical advice, I can speak from experience and research. Bone broth is rich in:
- Collagen and gelatin (supports skin, hair, nails, and joints)
- Amino acids like glycine and proline (may support gut health)
- Minerals such as calcium, magnesium, and phosphorus
It’s considered a bioavailable source of nutrients, meaning your body can easily absorb and use them because they come from whole food, not ultra-processed powders.
My Favorite Way to Drink Bone Broth
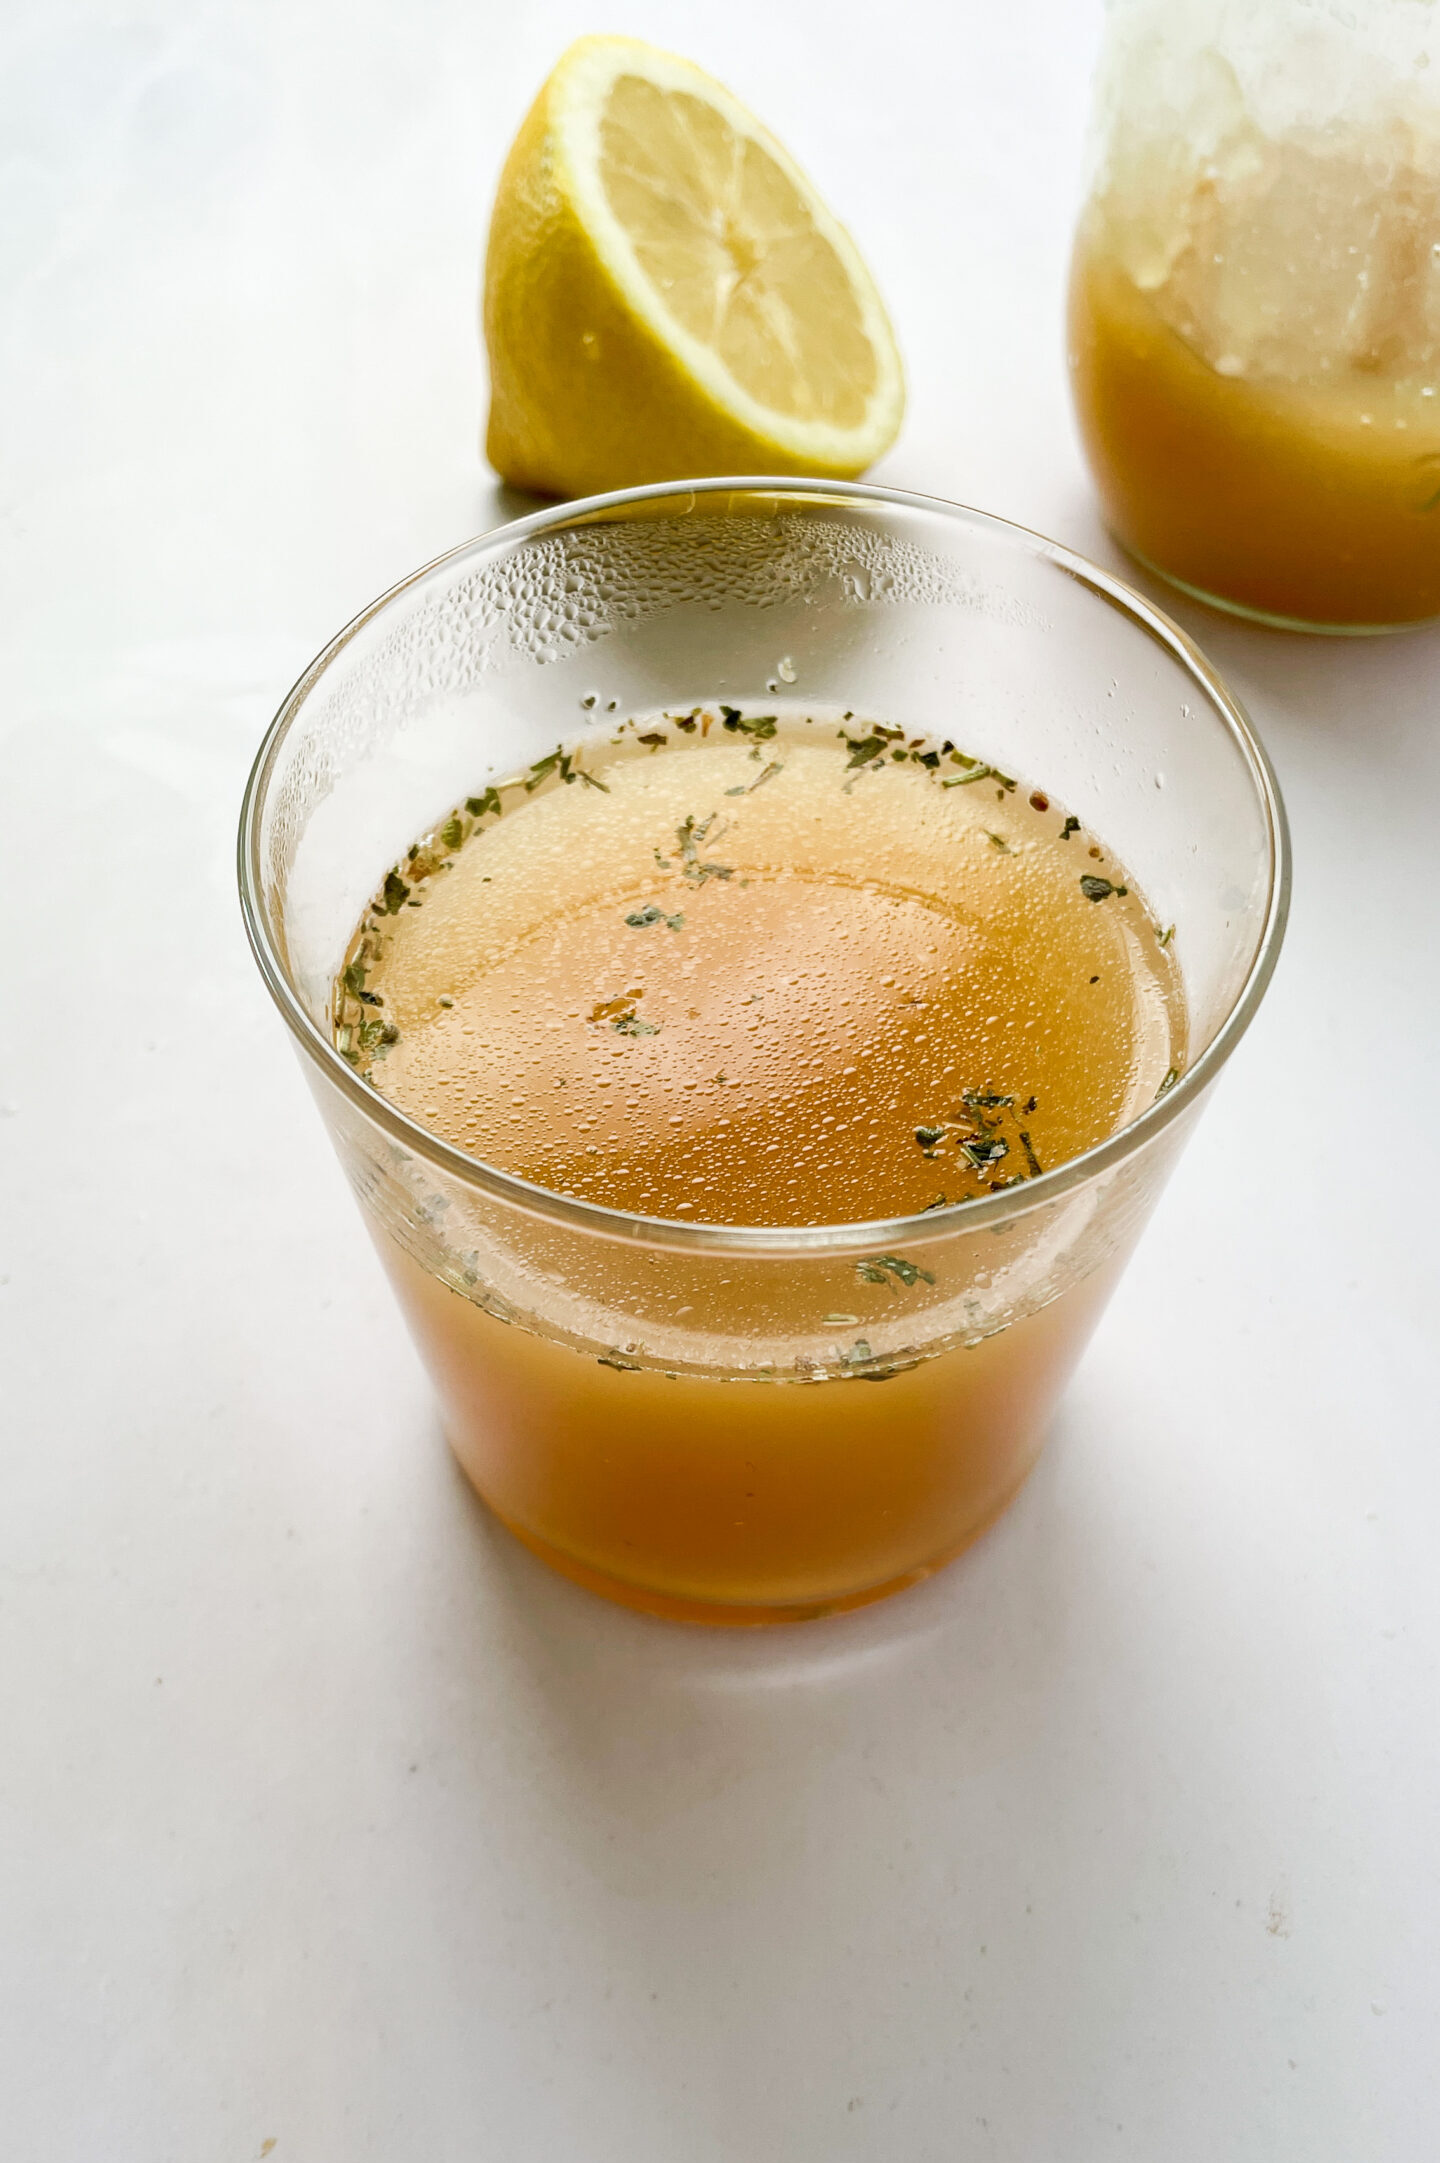
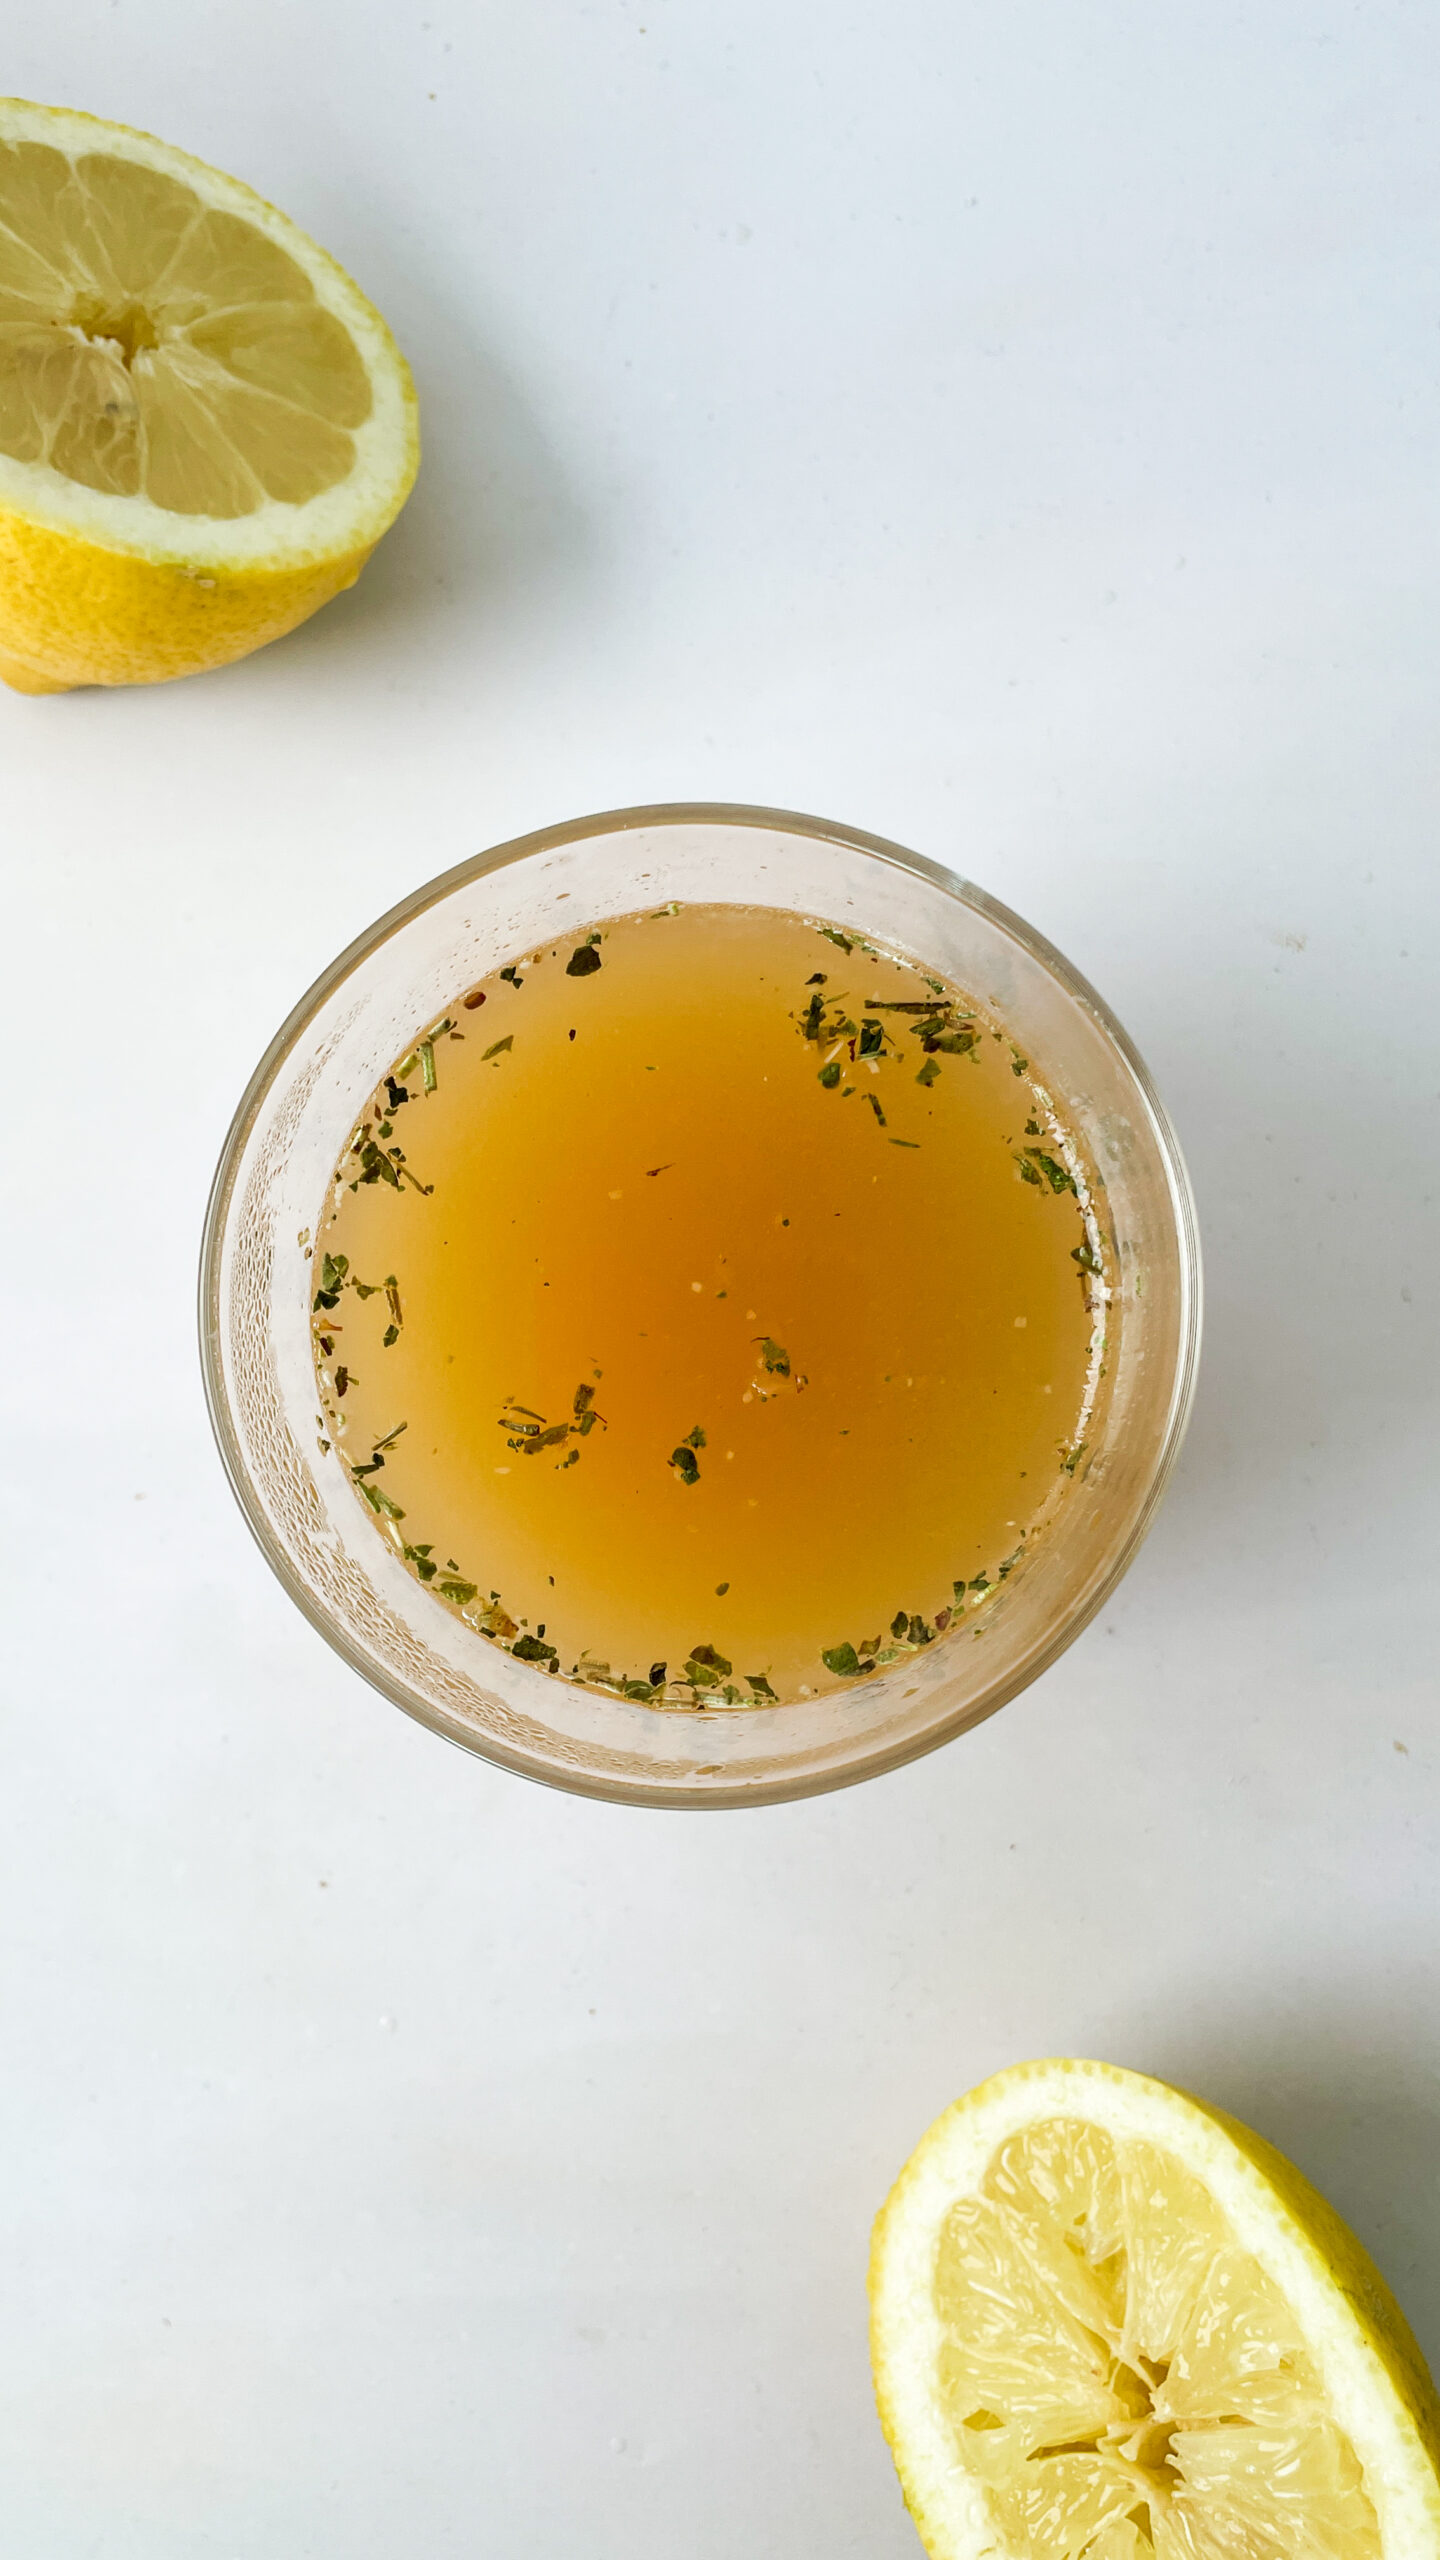
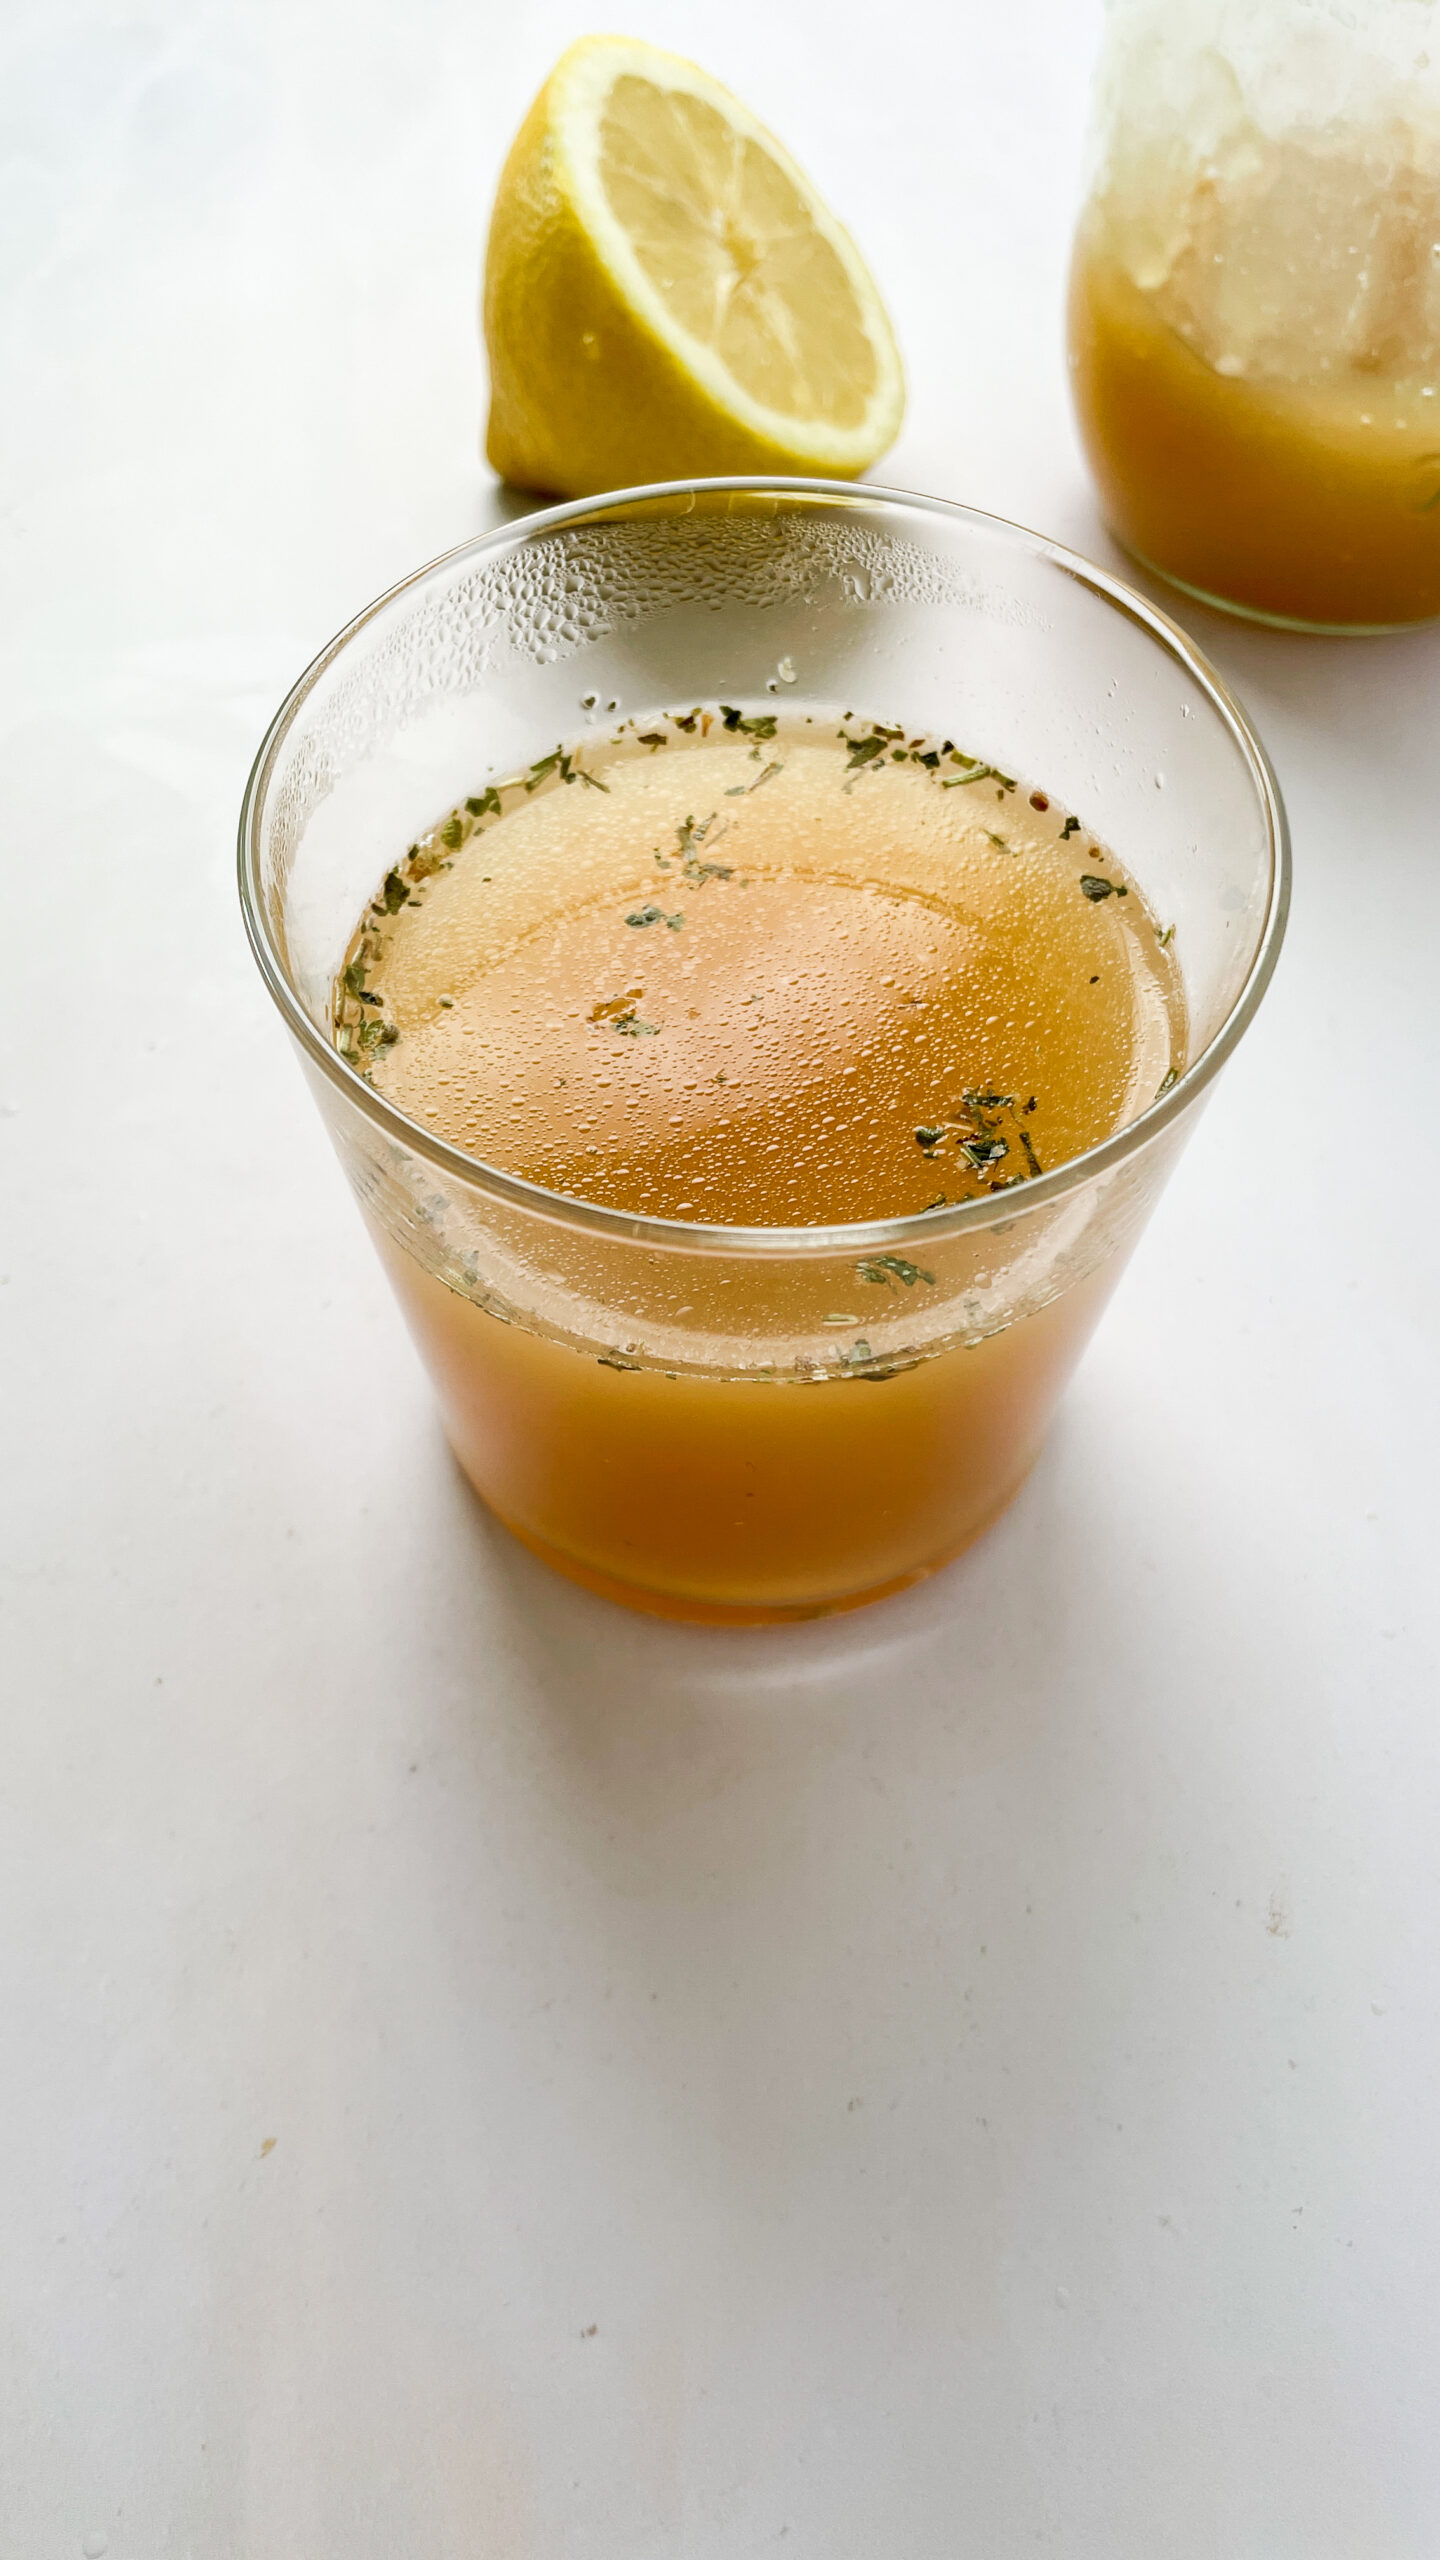
I usually drink bone broth first thing in the morning. I add salt/herb salt and a a squeeze of lemon juice. It’s incredibly soothing, easy on digestion, and feels like a nourishing reset for the day. It’s become one of those small rituals I truly look forward to. When I travel and stop drinking it, I notice the difference and I genuinely miss it.
FAQ
Can I use chicken bones instead?
Yes! You can follow a similar method with chicken bones, though the cooking time may be shorter (8–10 hours).
Is the vinegar necessary?
Yes. It helps extract minerals and collagen from the bones. Don’t skip it.
What if my broth doesn’t gel?
That’s okay! Gelatinous broth depends on the collagen content of your bones and the simmer time. Even if it doesn’t gel, it’s still nourishing.
How long does homemade bone broth last in the fridge?
Up to a month, if stored under the fat layer.
What type of bones are best for bone broth?
Any collagen rich beef bones will work. I get mine from my local farmer and don’t ask for specific parts
Do you have to roast the bones?
Not at all. I skip this step for simplicity, and it still tastes great.
Final Thoughts
From 2 kg of bones, you get:
-
Rich, gelatinous bone broth for your gut, skin, and energy
-
Nutrient-dense beef tallow for cooking or skincare
And once you’ve set up a system, it’s so easy.
This isn’t just about food. It’s a rhythm. A ritual. A form of nourishment that respects the whole animal and gives back to your body in the most grounding way.
Homemade Stovetop Bone Broth (No Slow Cooker Needed)
Ingredients
Method
- Rinse beef bones under cold water. Place them in your large 5 liters pot. Pour in water to cover bones by about 2-3 cm. Add apple cider vinegar and let soak at room temperature for 30 minutes without heat, this helps pull minerals out of the bones.
- Add optional vegetables (carrots, celery, onion, garlic) and herbs to the pot for extra flavor.
- Bring the pot to a boil over medium-high heat. Once boiling, immediately reduce heat to low so the broth simmers gently with just a few bubbles. Simmer covered for 10 to 12 hours.
- Strain broth using a strainer and a cheesecloth or mesh cloth to get a super clear broth. Transfer to jars.
- Let jars cool to room temperature before placing them in the fridge. A thick fat layer will solidify on top, keep this as a natural seal. Store refrigerated for up to 4 weeks.
- When using broth, skim off fat and save in a freezer container. Once your container is full, render into beef tallow by melting fat slowly over low heat until all water evaporates and solids brown, then strain and store.
Notes
- Use grass-fed, organic bones if possible for better nutrition and flavor.
- Avoid cruciferous vegetables (broccoli, kale, cabbage) to keep the broth clear and clean tasting.
- The broth should gel when refrigerated, a sign of good collagen content. If it doesn’t, consider adding more joints or knuckle bones next time.
- Add sea salt and a squeeze of lemon juice to a warm cup before drinking for an energizing mineral boost.
- Beef tallow is heat-stable and great for cooking or skincare, zero waste from your bones!